I’ve built an elliptical table to replace the current one which was a bit wonky, hard to clean up and too dark in my taste.
The goal was to have as much room as previously for our five person meals, with an extension for when we have a number of guests – which is very rare, in 2020/2021. I think I reached that goal :
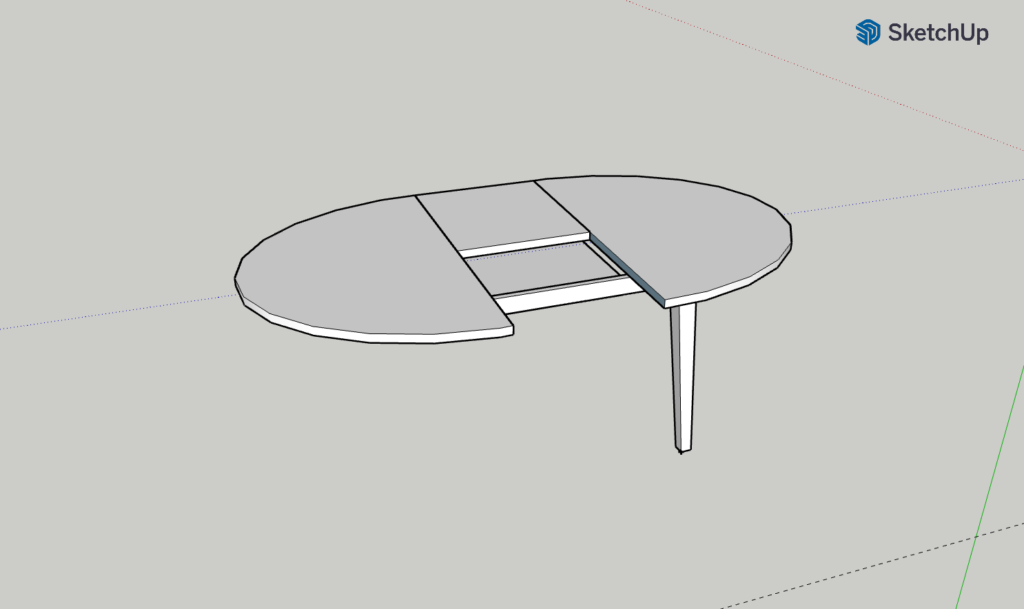
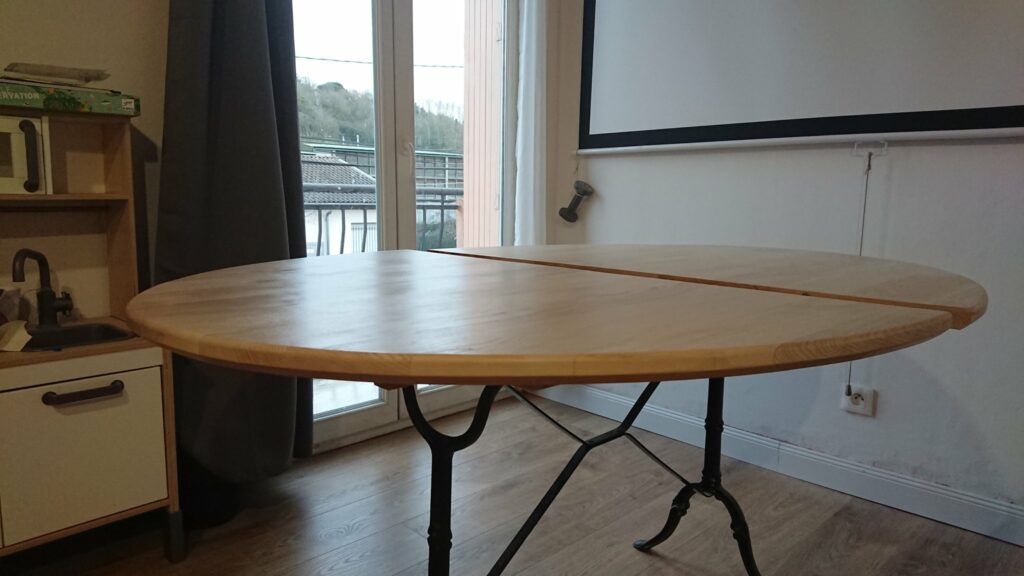
This table is made out of solid ash and can either be 150 or 200 centimeters long, 115 centimeters wide. Here are a few photos of the finished table, followed by most of its building steps :
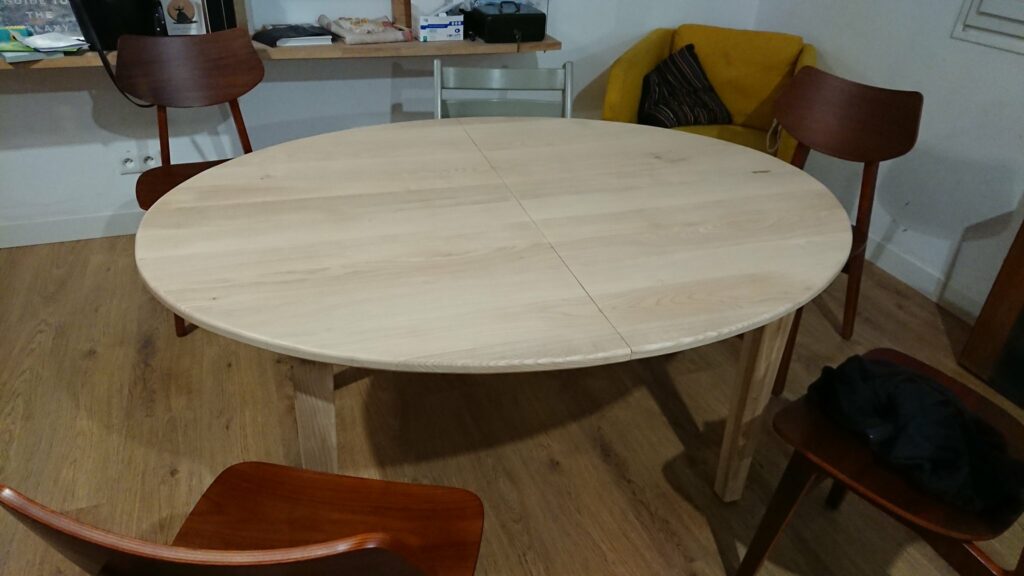
Version courte 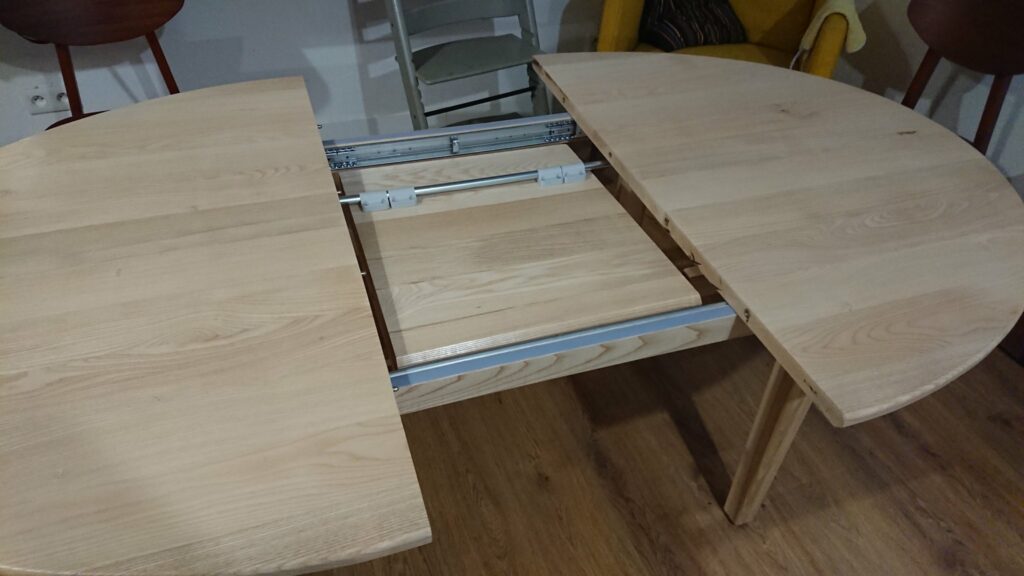
Extension 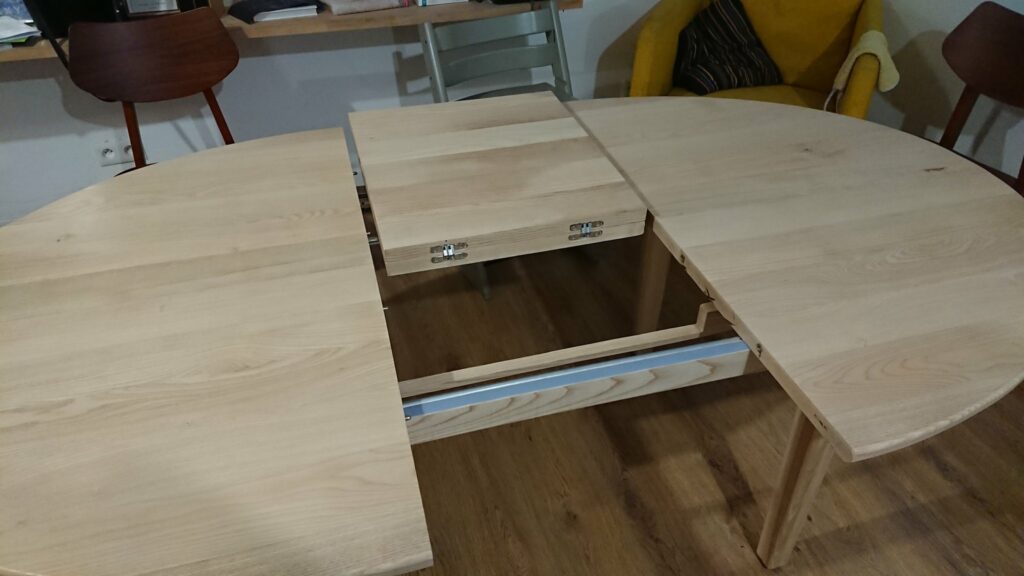
Dépliage de la rallonge 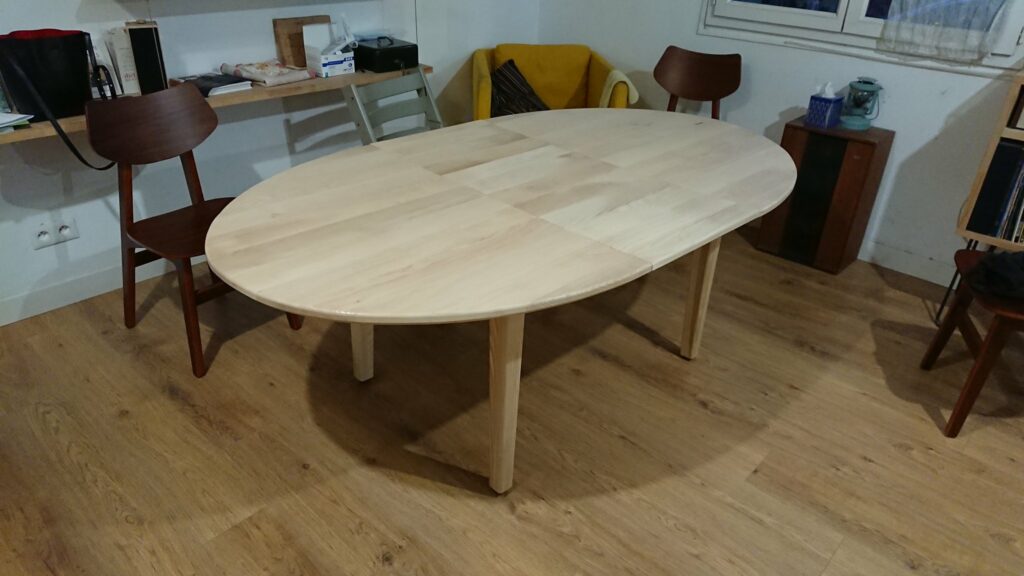
Version longue !
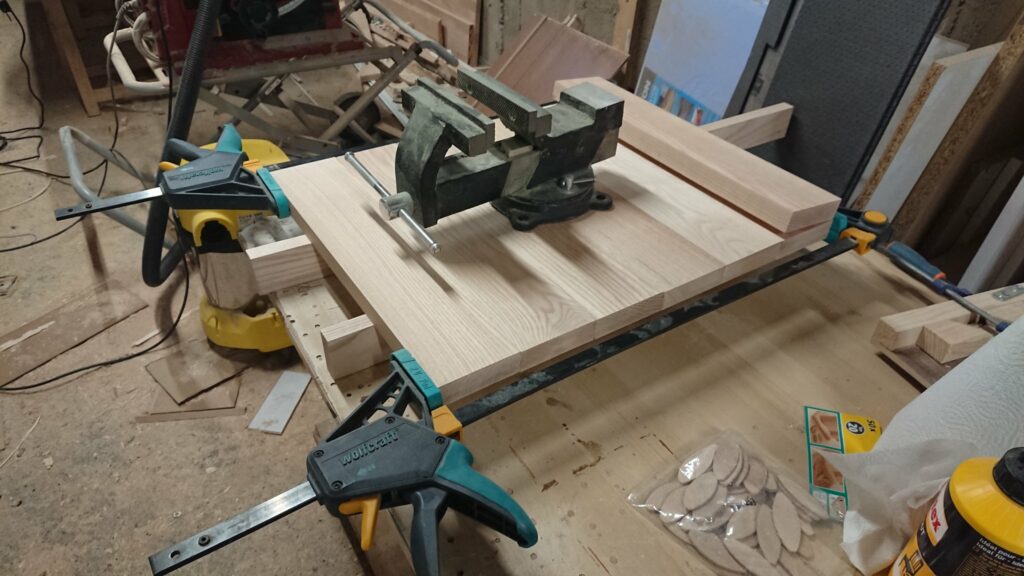
I started by assembling the top. I did it with my biscuit joiner. It uses quite a lot of biscuits !
Les planches 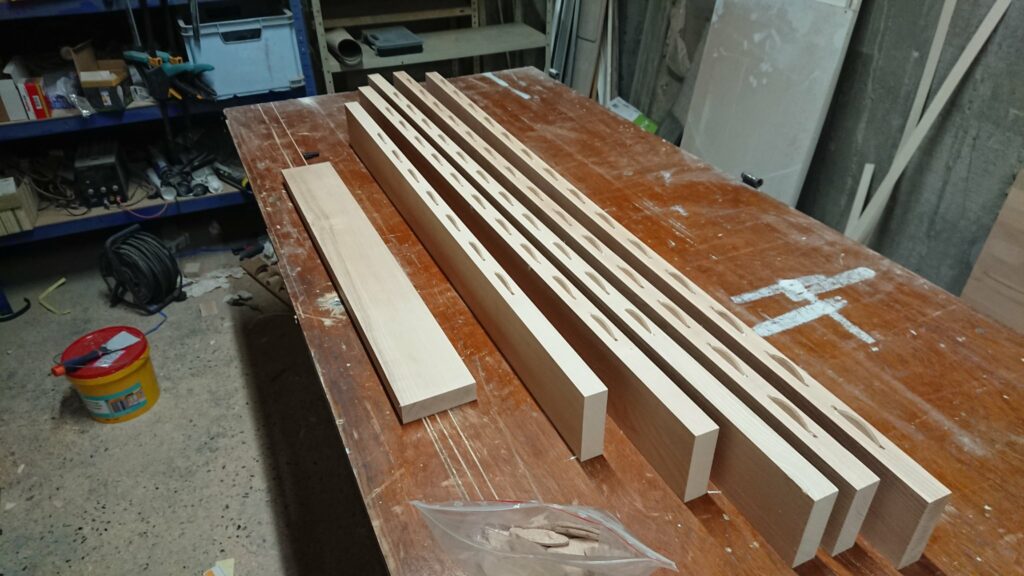
Collage des lamellos 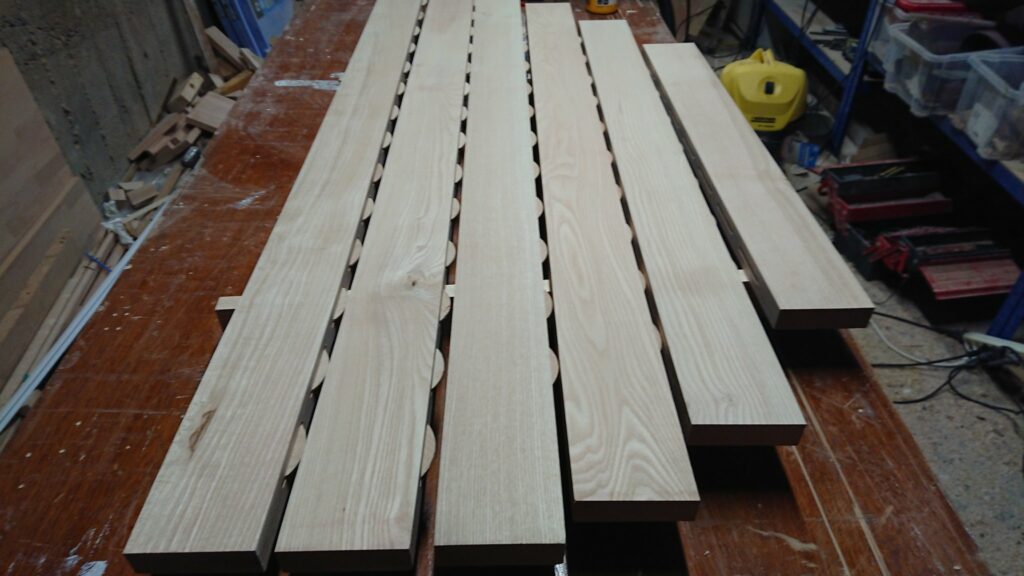
Présentation… 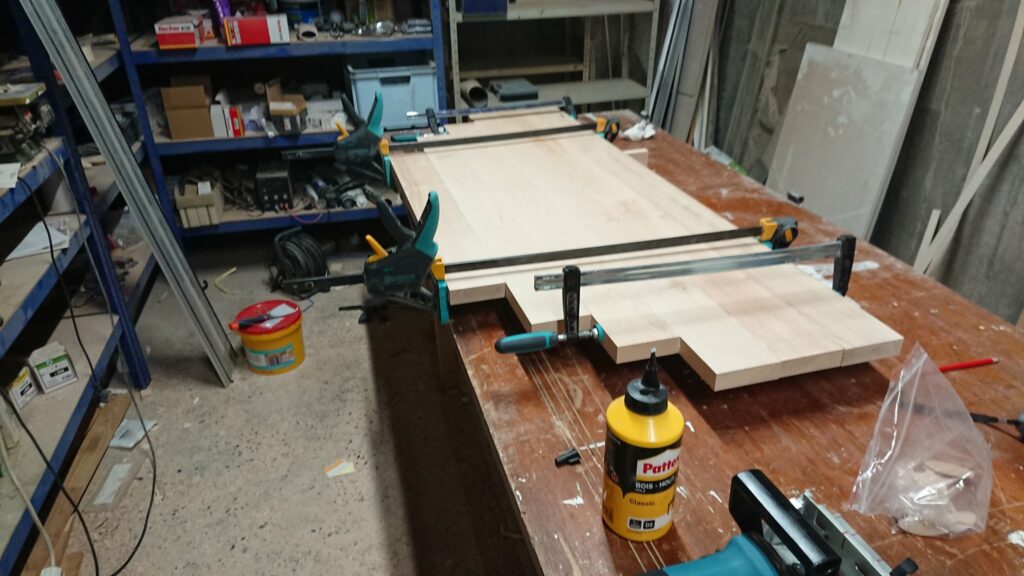
Et serrage !
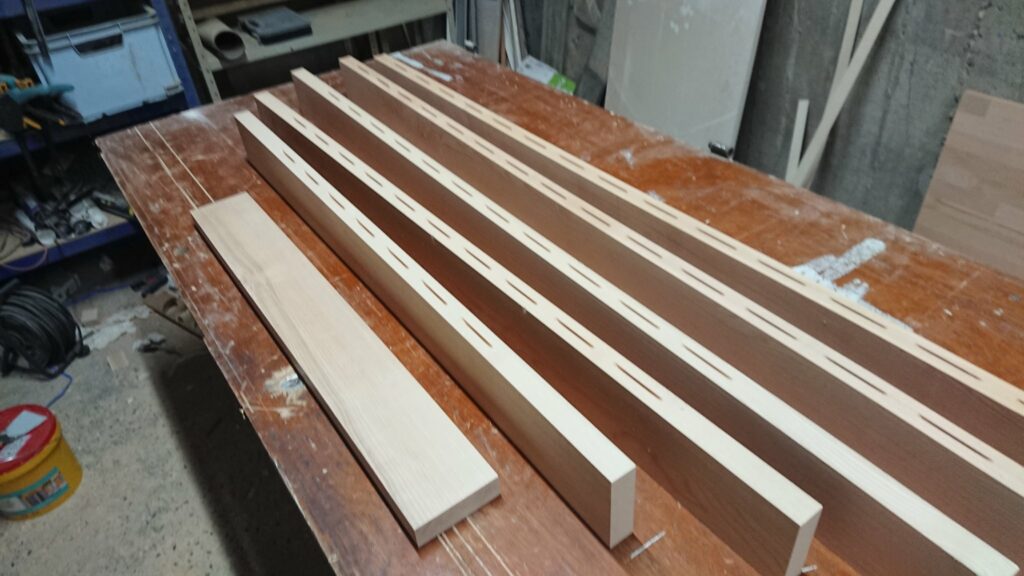
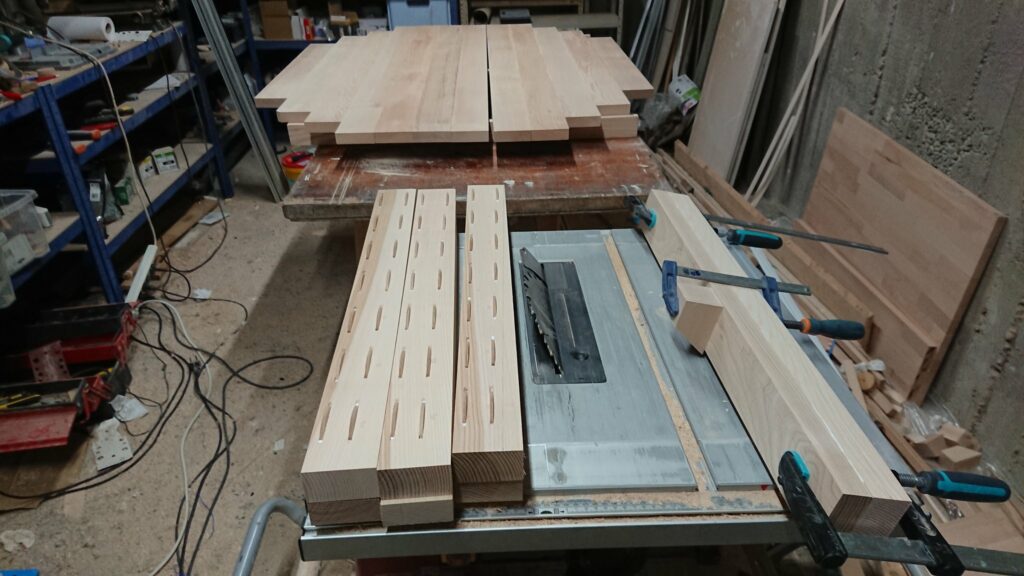
Afterwards I’ve glued planks together for the feet, one 4cm thick and one 3cm thick, so that the feet end up with a square section of 7×7 cm. I’ve cut out what I call “castle joints”, but that’s not their real name. They are excentred as I plan on beveling the feet sot that they look less massive, and I want the center of weight to be vertically “inside” the feet. For this occasion, I’ve made a rather crude vertical cut jig, which turned out to work well.
Lamellos 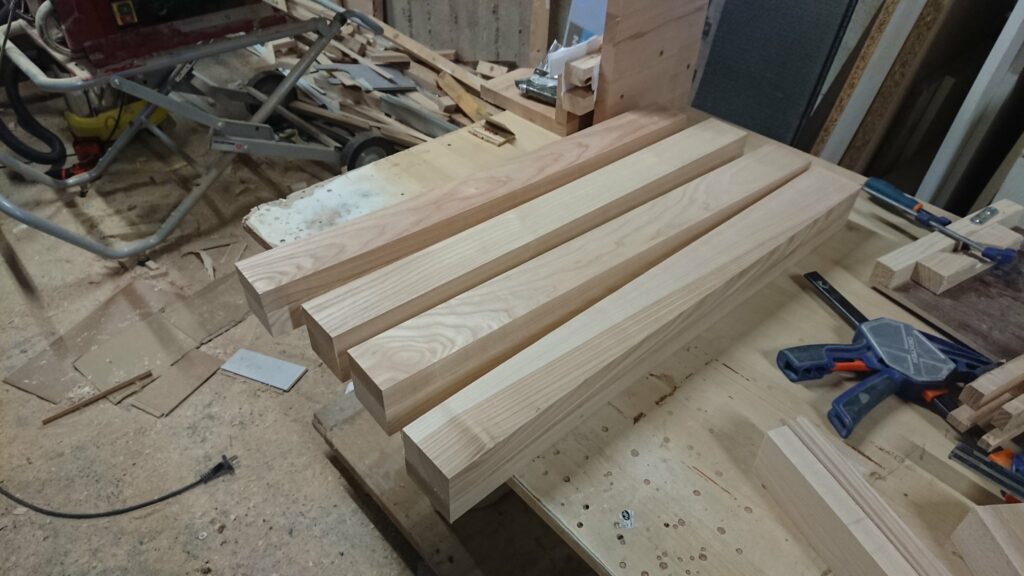
Collage 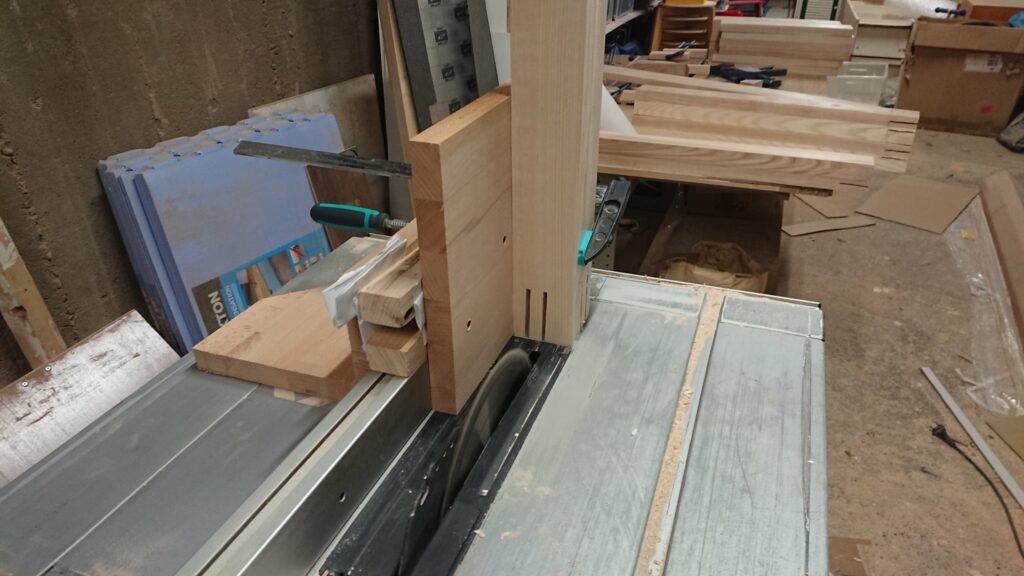
Découpe des encoches 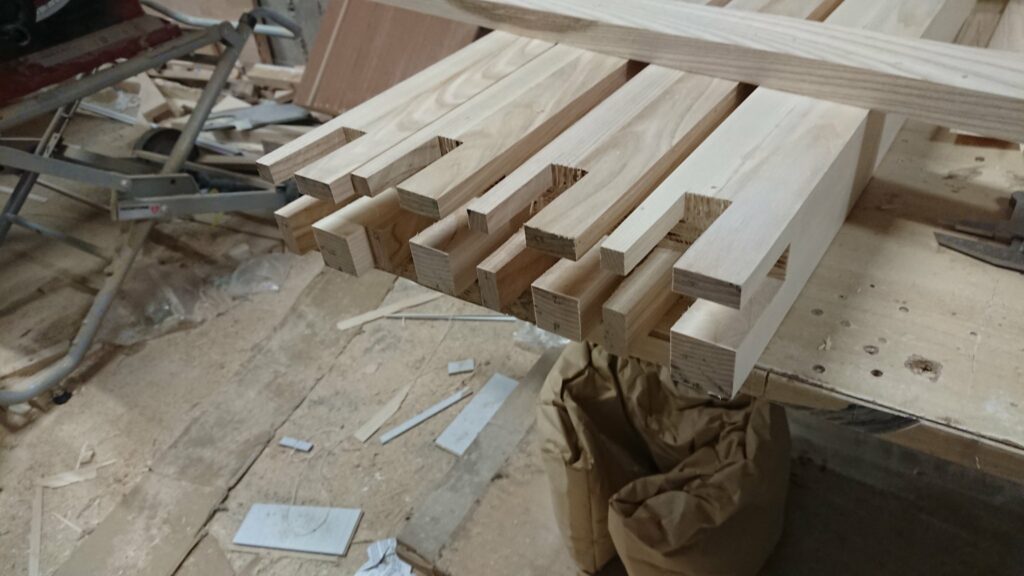
Le résultat
I’ve then calculated the ellipsis parameters, with the help of the Internet, drawed it, and cut it out. It’s been a little tough on my old jig saw and I had to replace it!
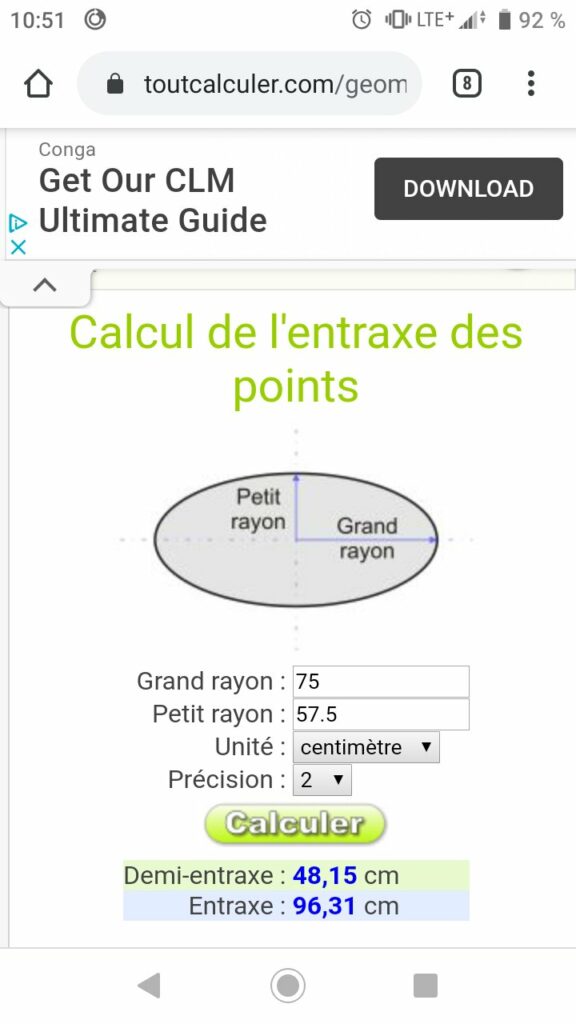
Le calcul 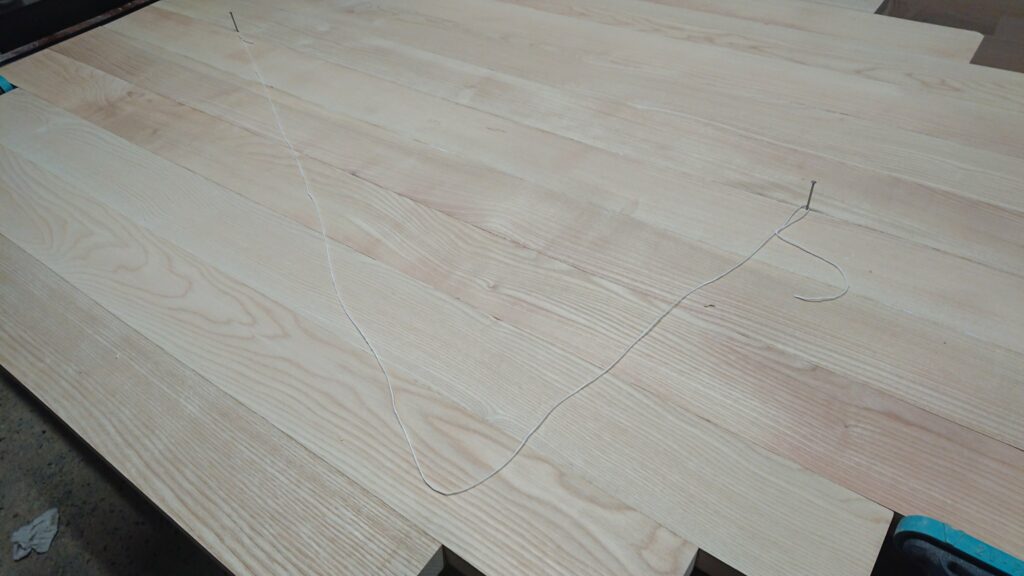
La ficelle et les clous 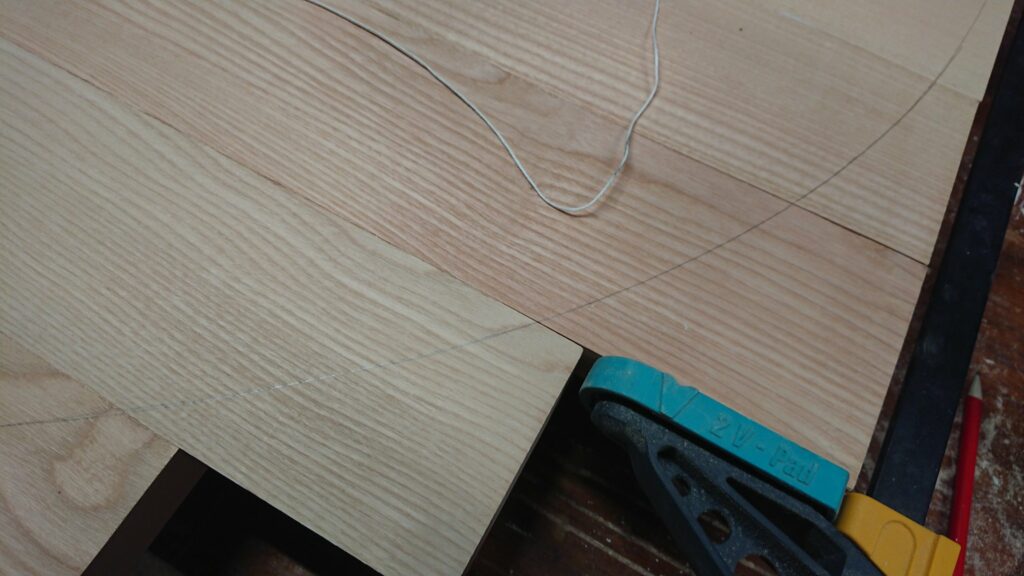
Le tracé 
Cette scie est morte à cet endroit. RIP, elle avait 14 ans 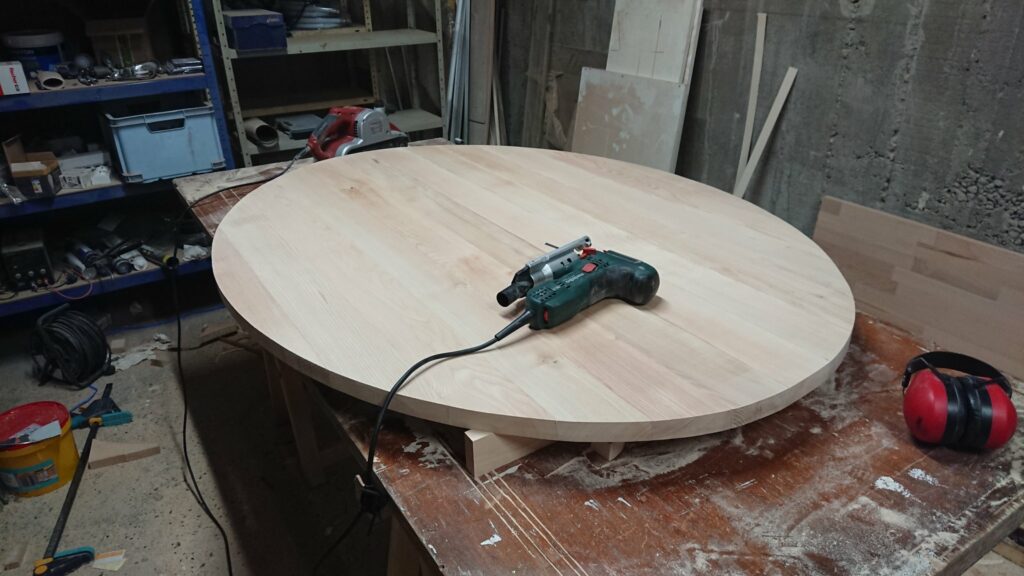
Celle-ci l’a remplacée 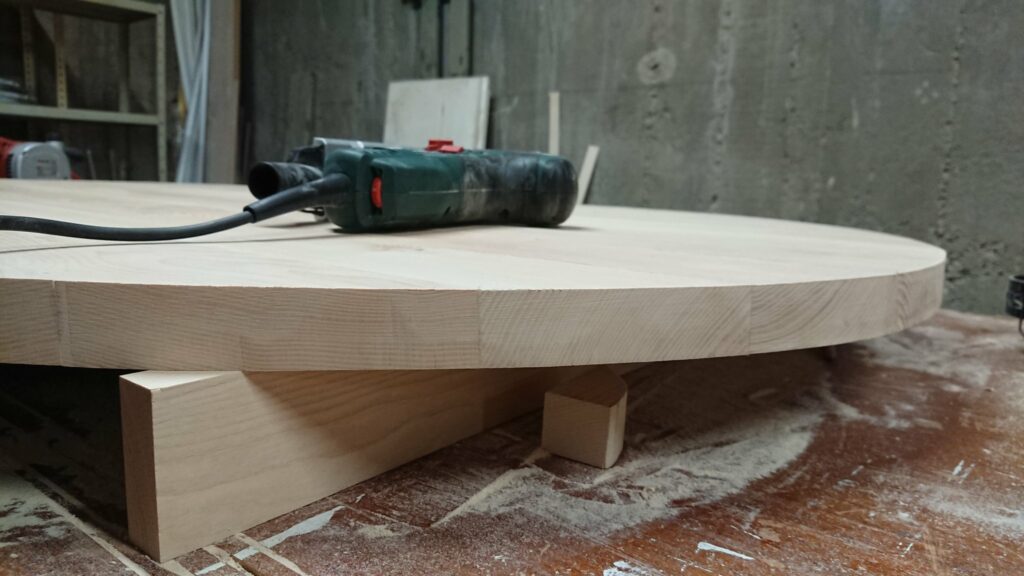
Le résultat
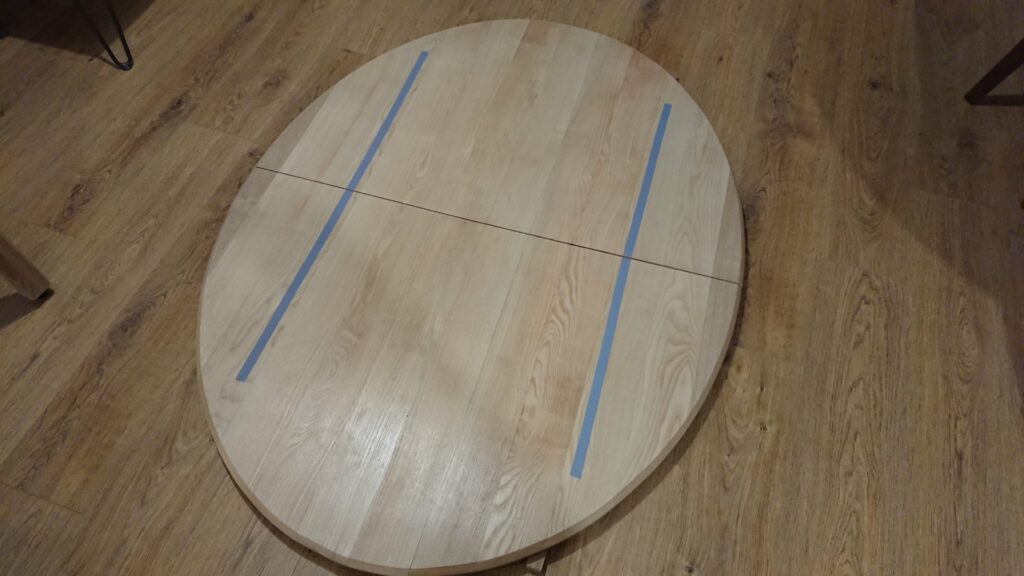
Next step was to assemble the extension, cut the top in half and align both the top and its extension with pins, after what I cut the extension to width.
I think maybe I should have assembled the top the other way, in order to avoid having to make a cut in the middle of it, which was less straight than I would have wanted it to be.
Fabrication de la rallonge 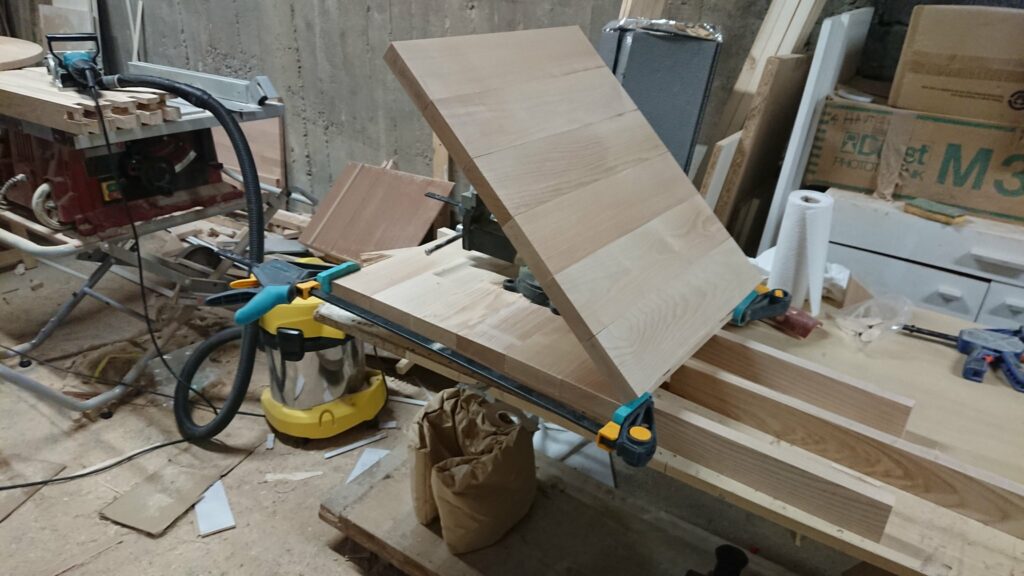
Le deuxième côté 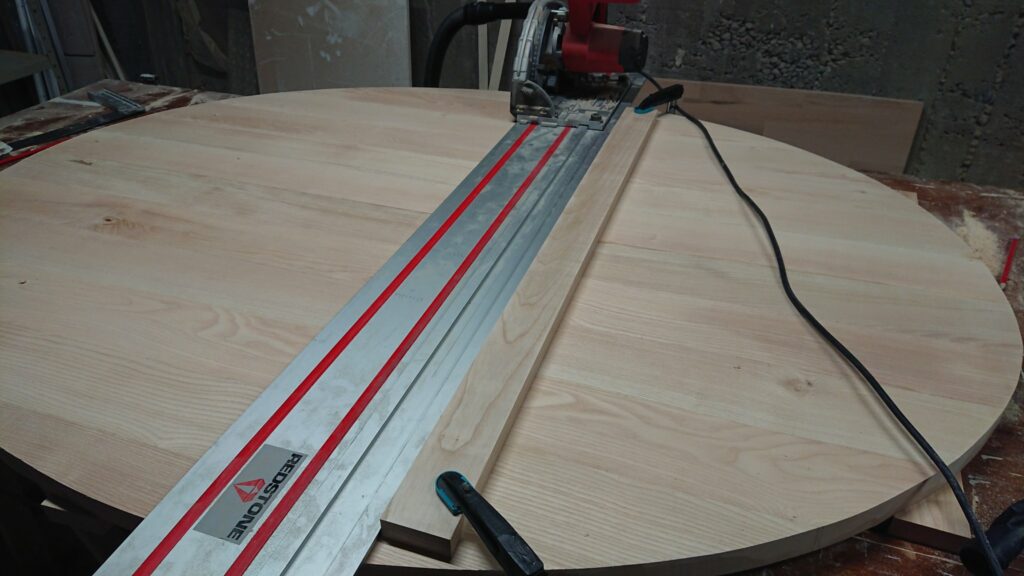
Découpe du plateau 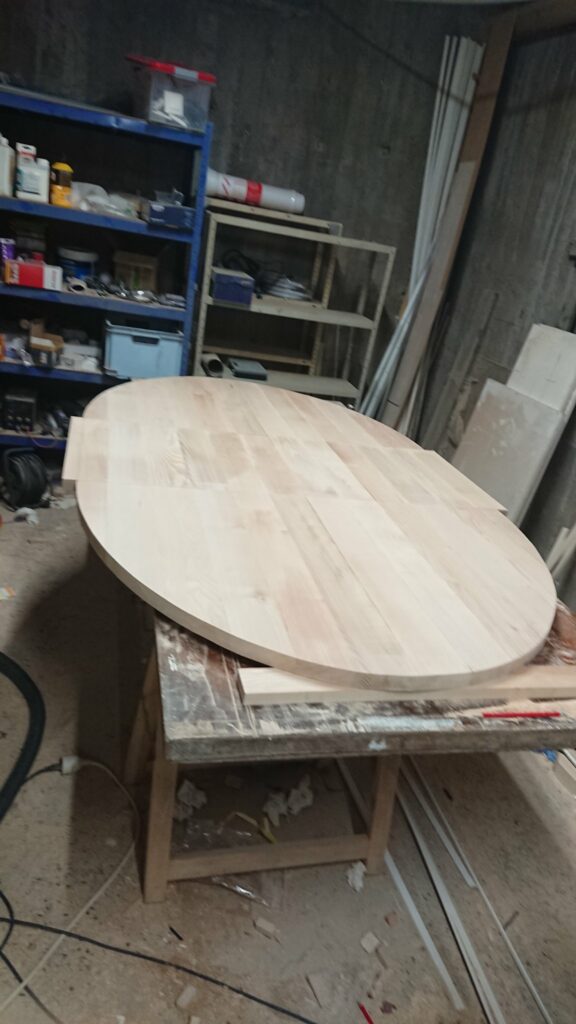
Positionnement de la rallonge 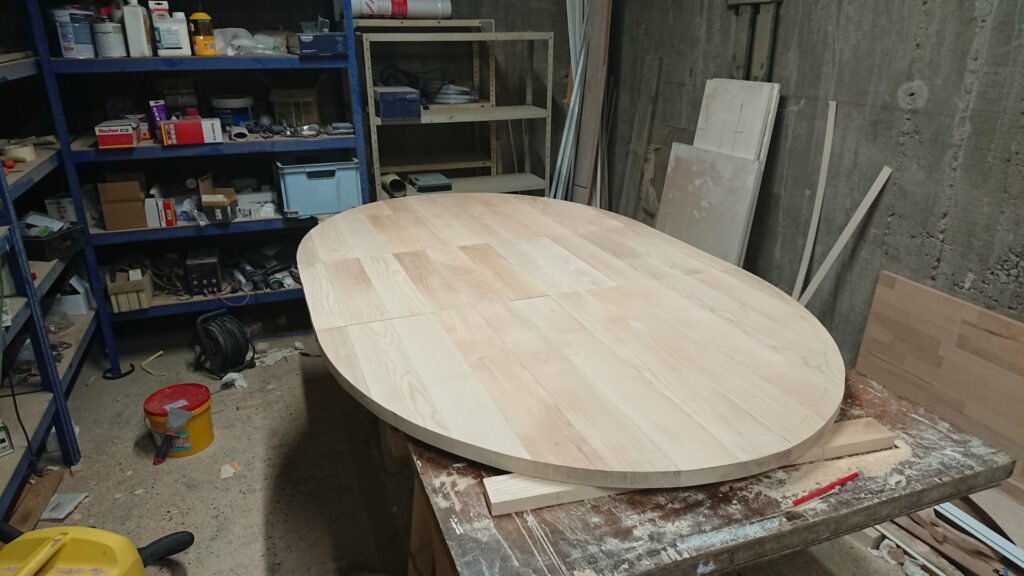
Mise à largeur 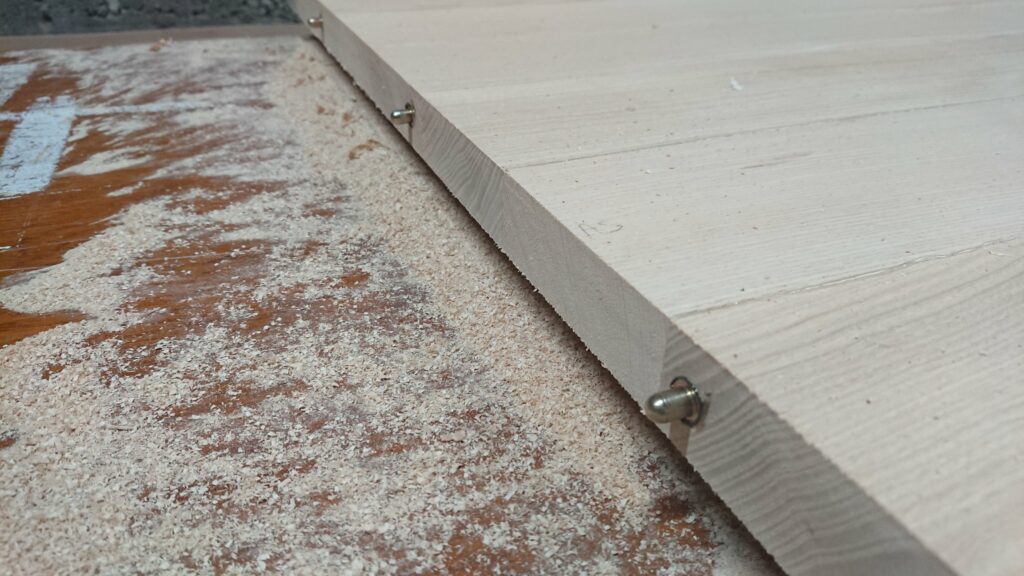
Les goupilles
Afterwards I started finishing up the top and varnishing it, and started work on the apron and feet.
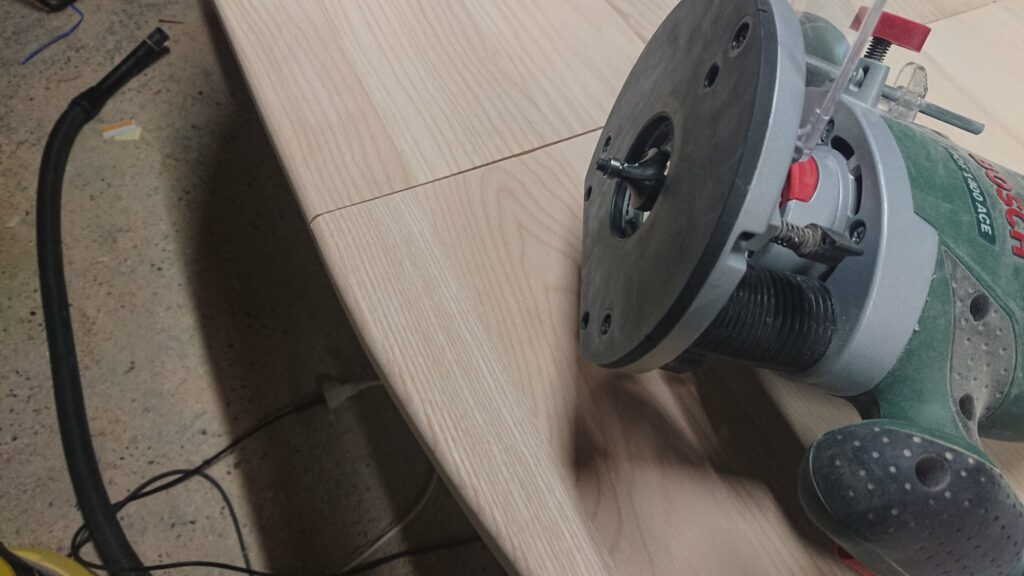
Défonçage arrondi en haut 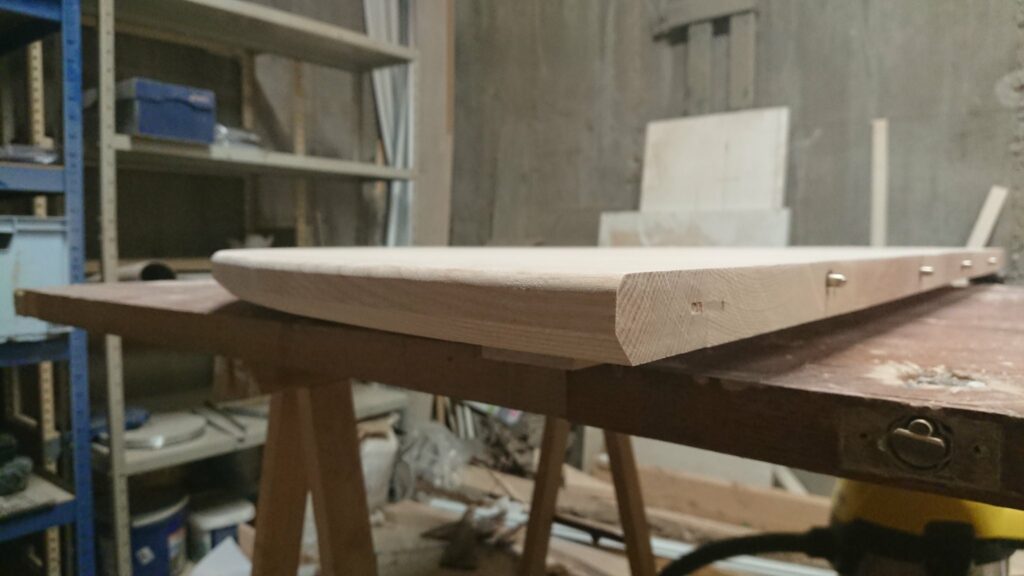
et à 45° en bas 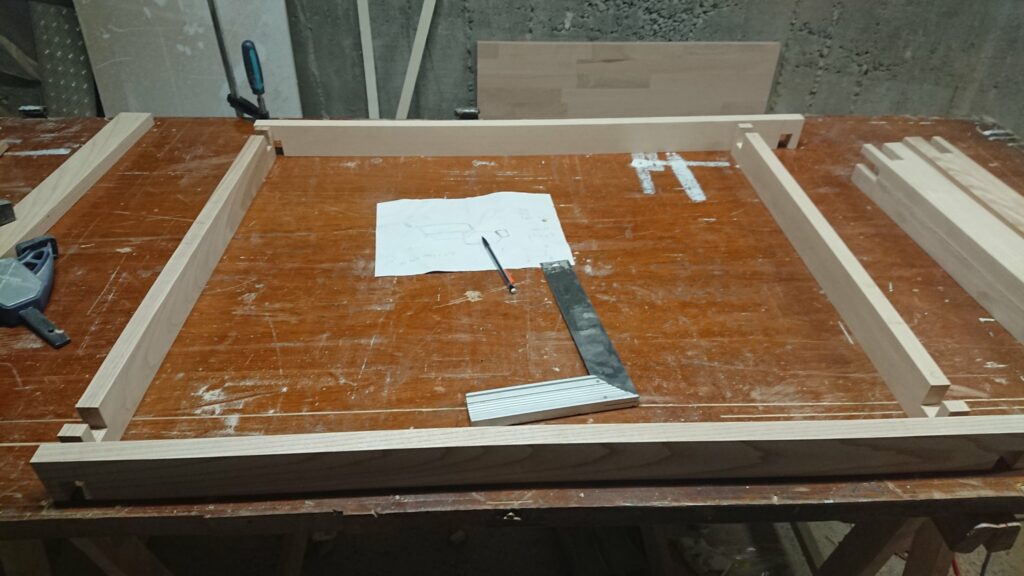
Préparation de la ceinture 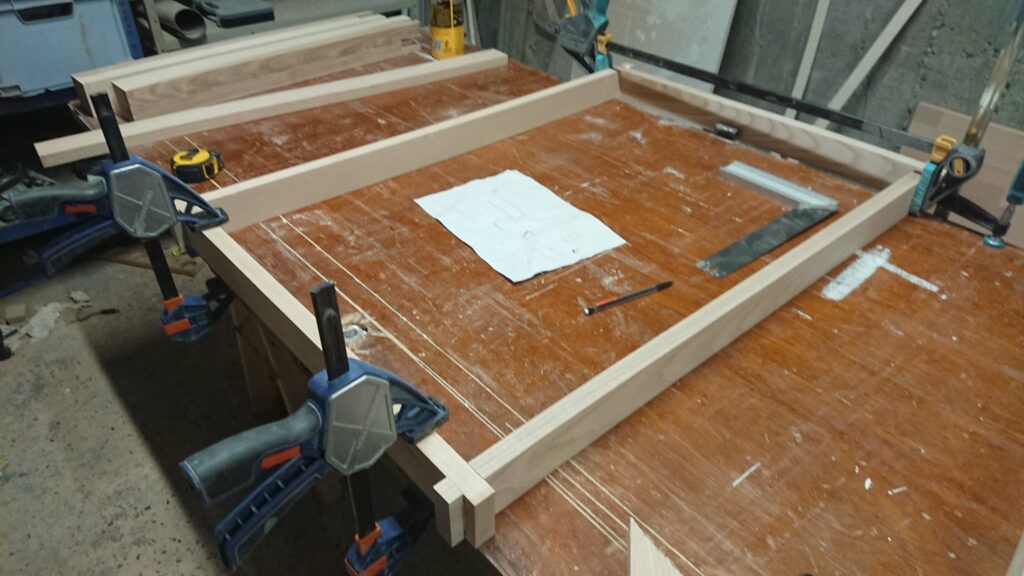
Assemblage de la ceinture 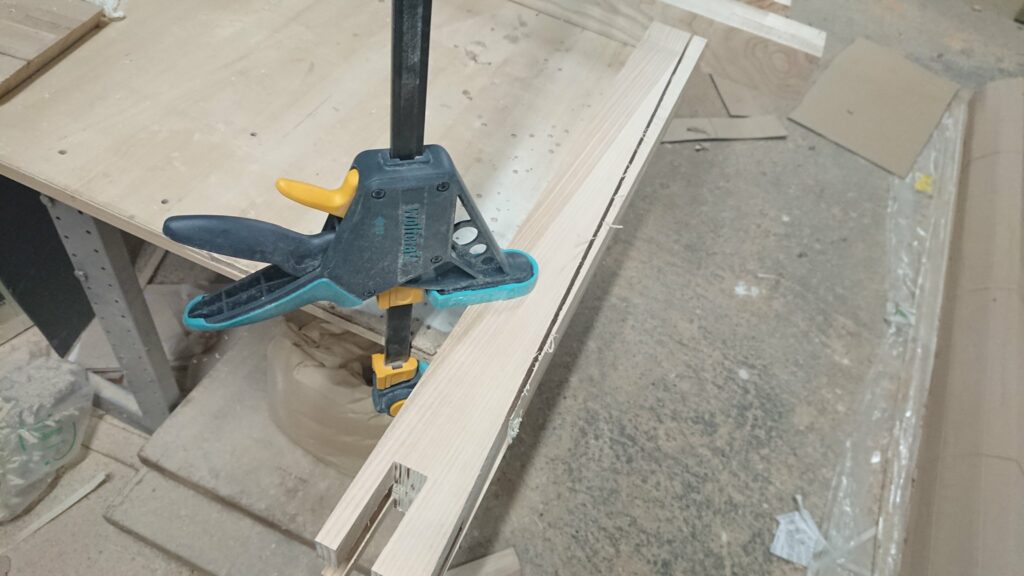
Fin du biseau des pieds, à la scie japonaise 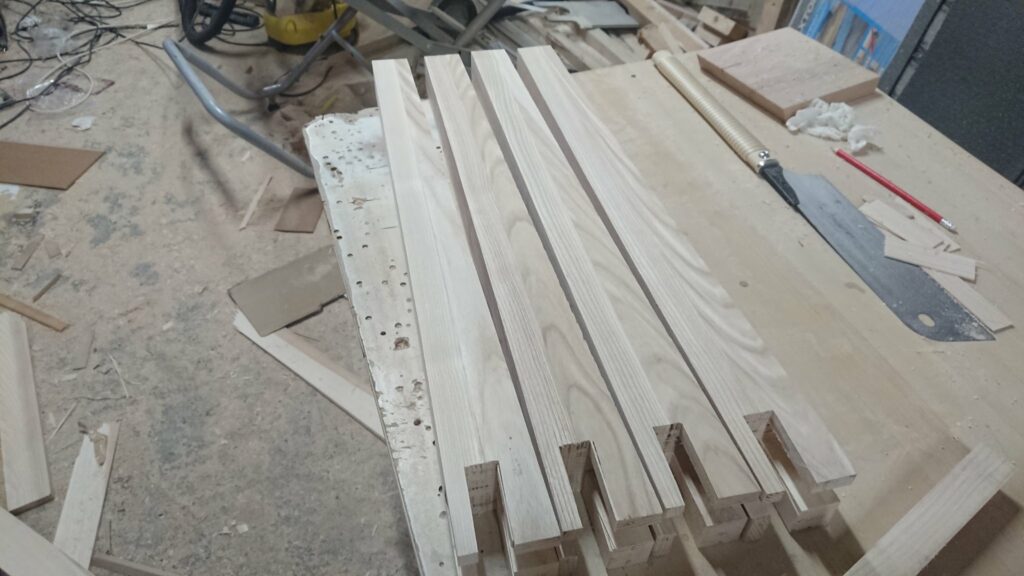
Les pieds quasiment prêts 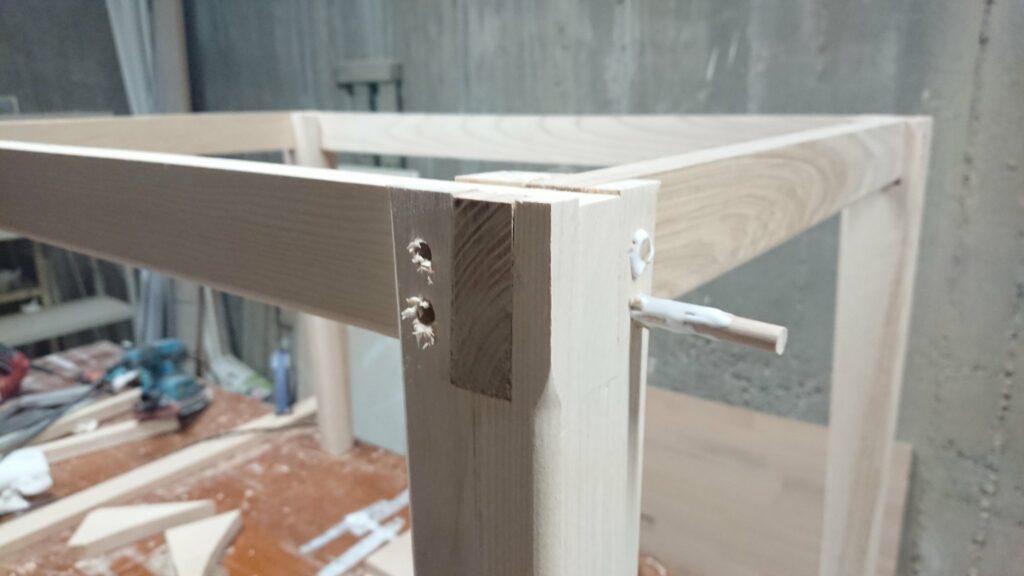
Assemblage des pieds à la ceinture 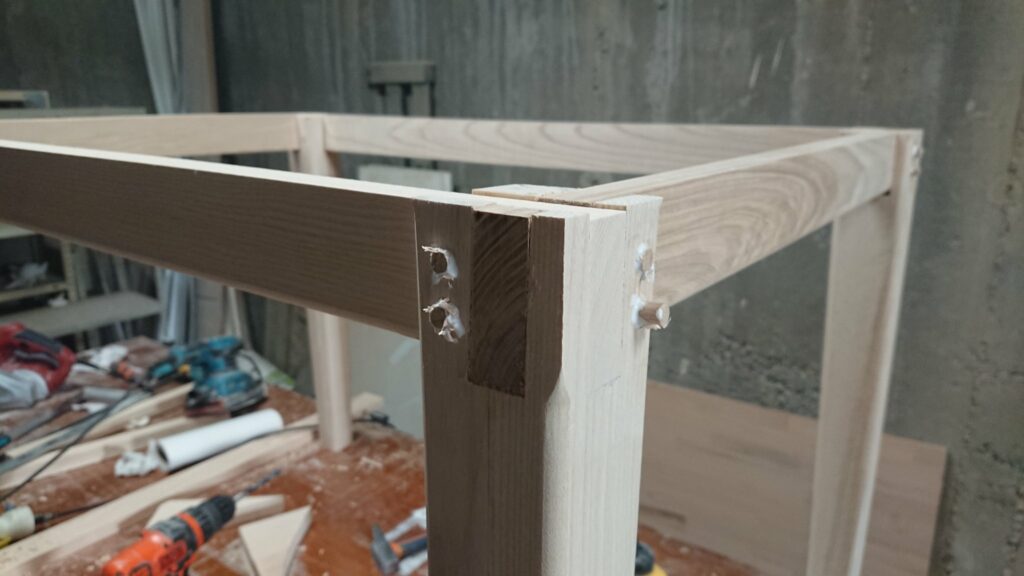
Avant finition 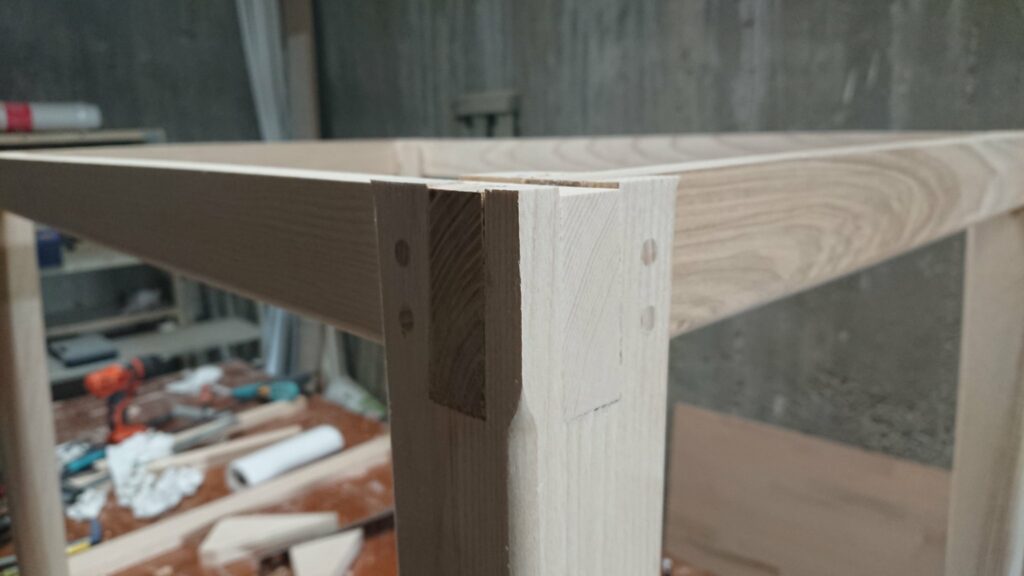
Après finition
After a lot of varnishing, waiting for the varnish to dry and sanding the varnish, it was finally ready for assembly. I fixed the top to the apron using synchronous sliders and installed the extension’s rotation axle.
To install the axle, I’ve measured half the length between the slider and the extension’s center. This allows it to fit in the correct position when extended, and centered inside the apron when retracted. For this to work fine, make sure your apron’s width, with sliders, is greater than half the extension’s length.

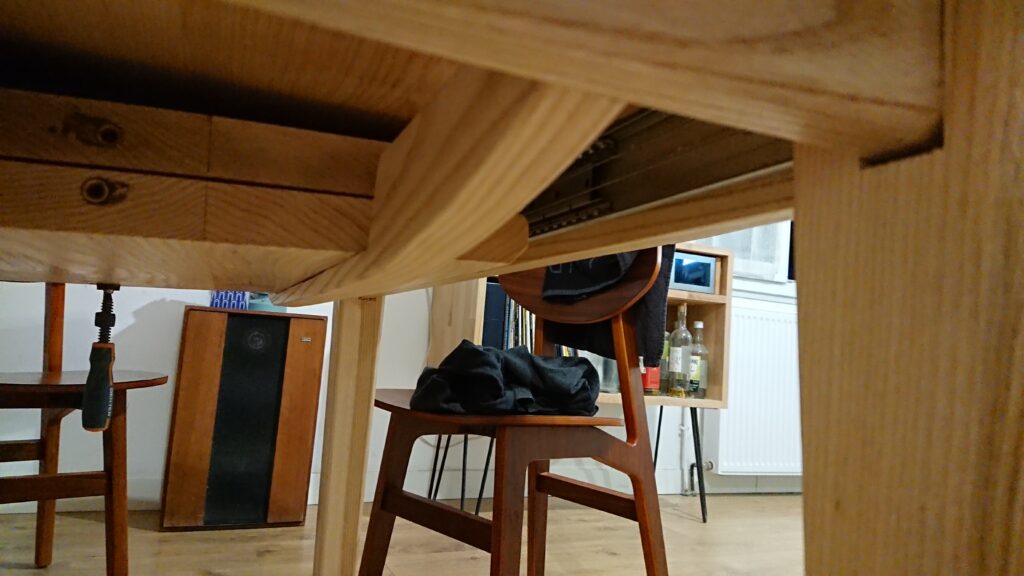
Lastly, I added a little part for holding the extension under the top. It’s the only part that is screwed ; but I needed it to be removable in case I ever need to fix or change the sliders.
And here it is ! I still plan on adding latches to keep the top’s parts close to one another, but didn’t get the time to do it yet.
Plans are available, although a little incomplete/wrong, especially the apron/feet assembly :