Reject modernity, reject planned obsolescence.
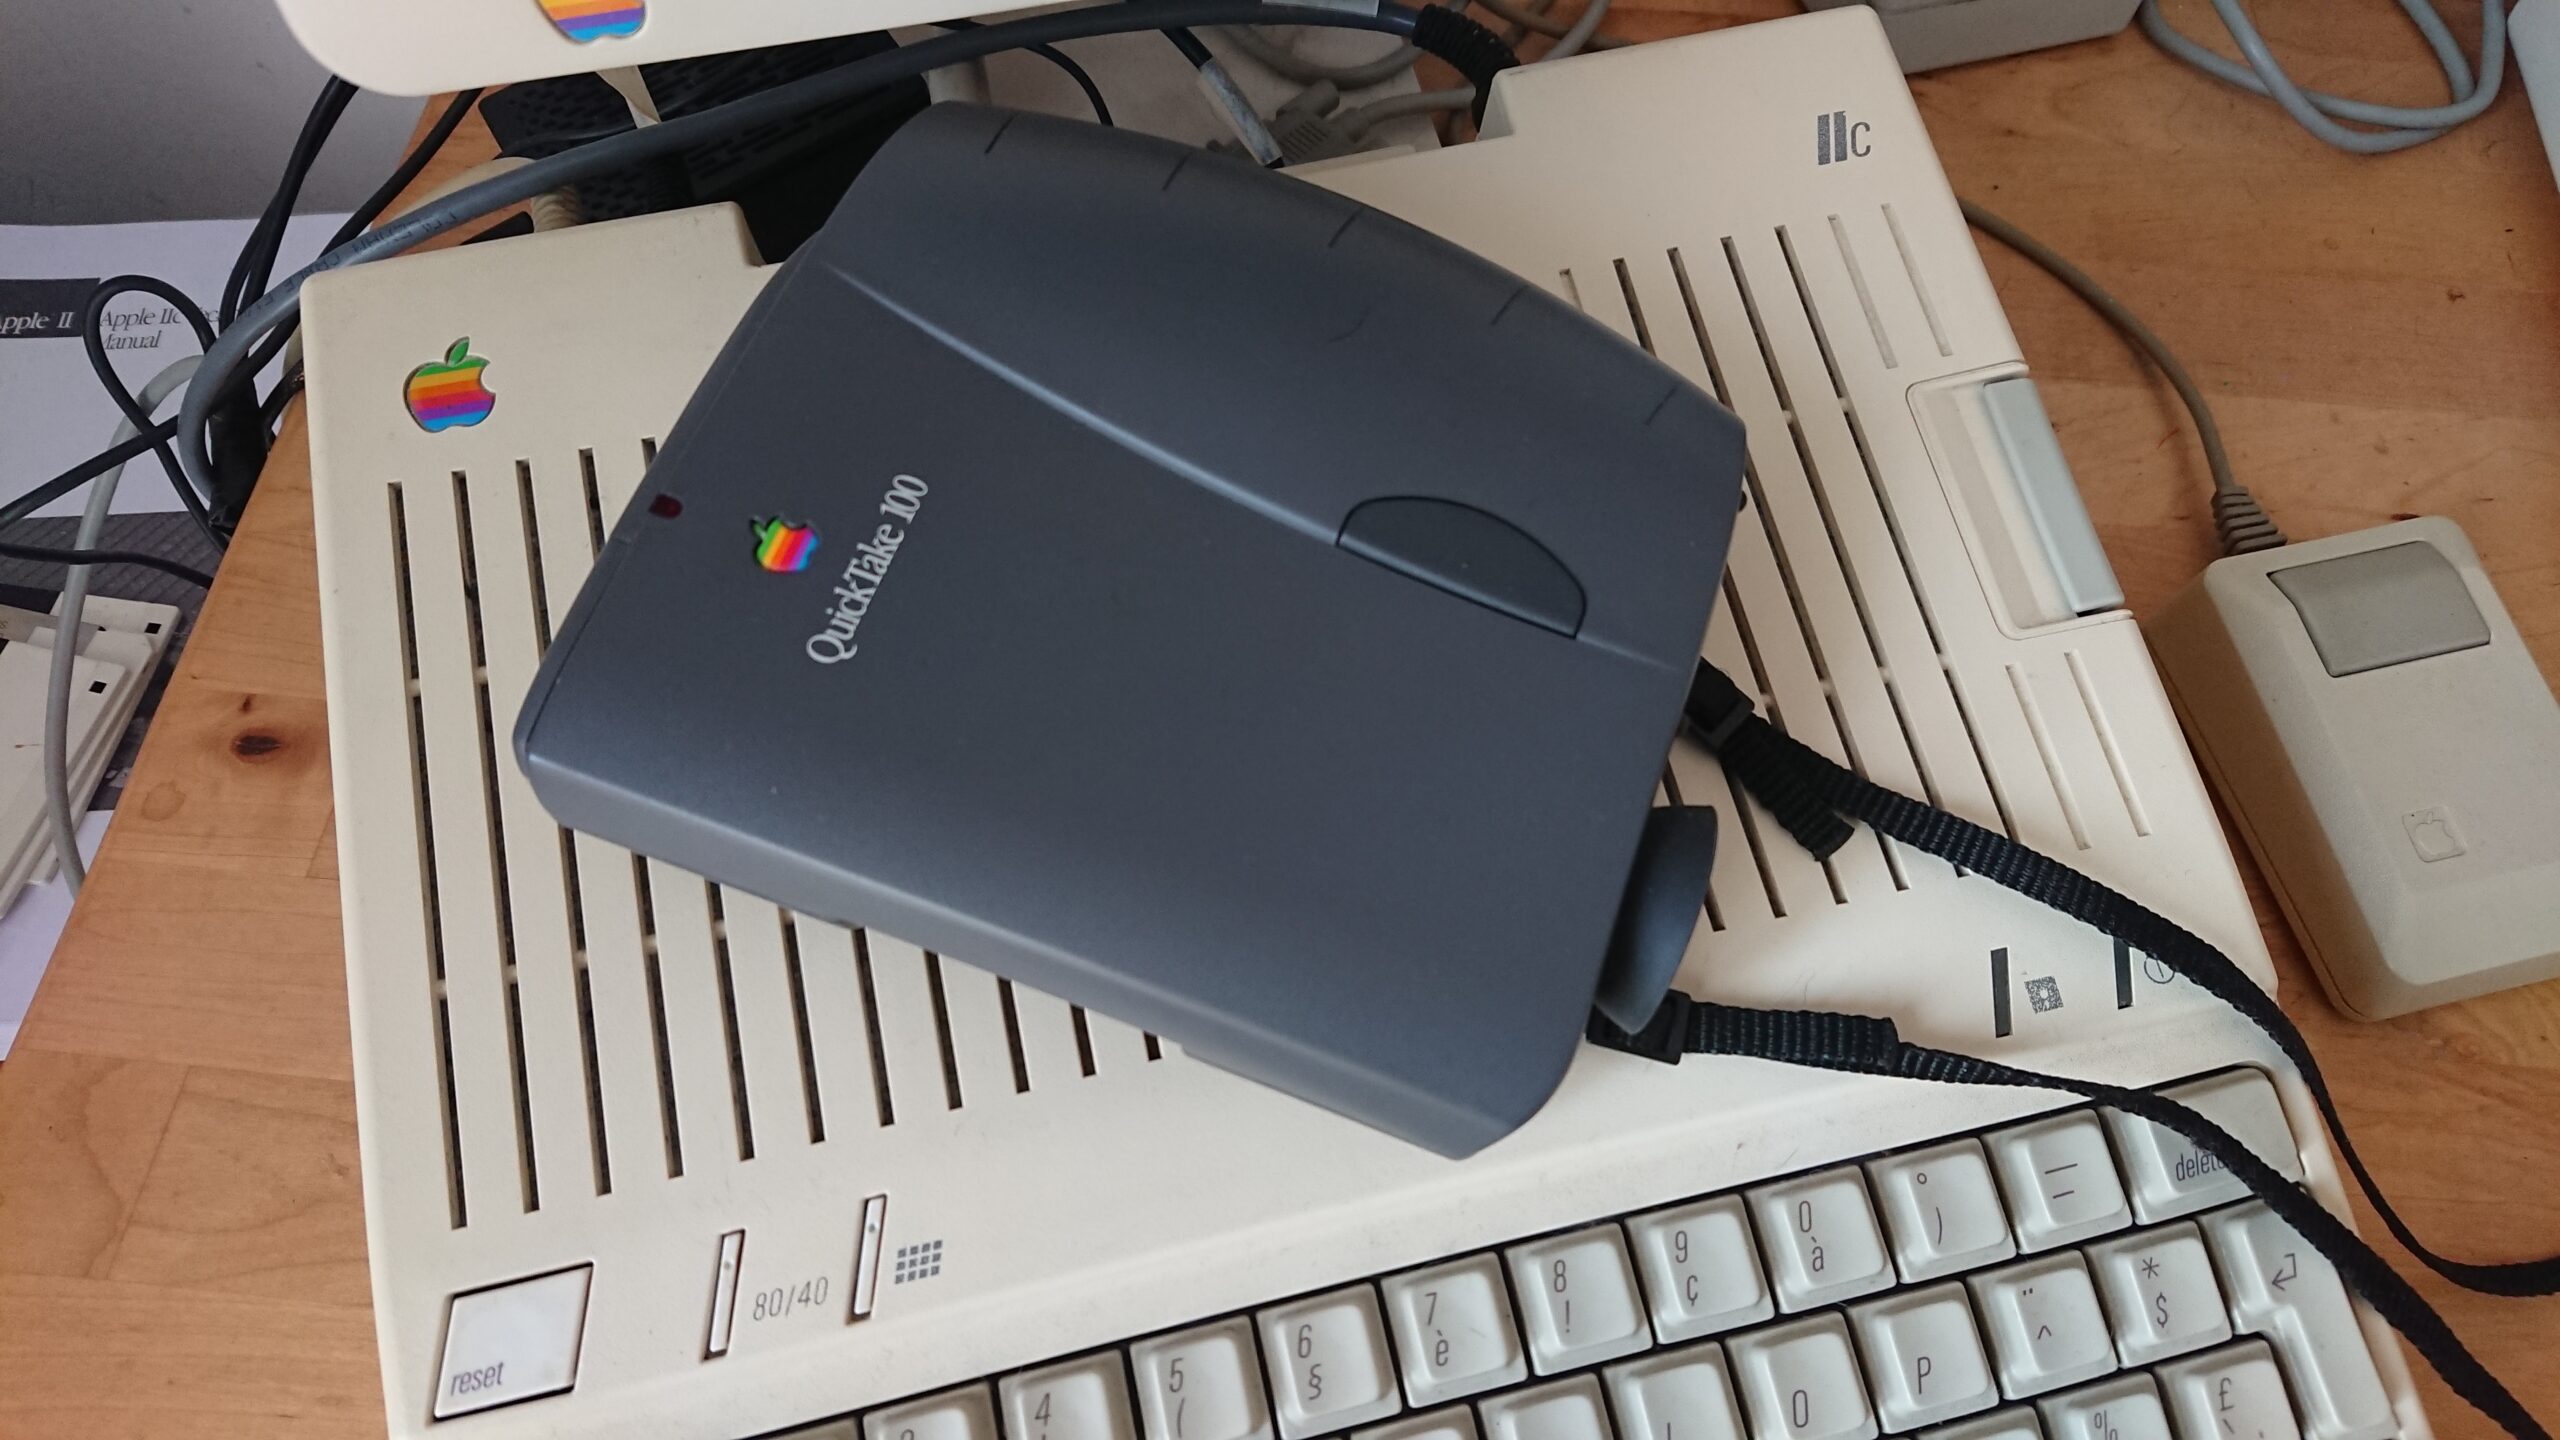
Apple released their first Quicktake camera, the Quicktake 100, in 1994, ten years after the Apple IIc. On the box, they very boldly wrote: “Requirements: 386, 486 or superior; 2MB of RAM, 10MB of free hard disk space; an 1.44MB floppy drive; a VGA, SVGA or superior card”. But was this true? No. They were just being lazy, or trying to get you to upgrade a perfectly functional 8-bit, 1MHz computer with 128kB of RAM and 140kB floppies. In fact, it was absolutely possible to do digital photography on an Apple //c.
Getting it
The source code is available on my Github, as usual. The Quicktake floppy image is also provided in the Releases.
To use it, transfer it to a floppy using ADTPro or STP, build a monstruous cable as explained below and in the Quicktake for Apple II User Manual (which is a quick way to see how this software works), connect a Quicktake, and you’re all set!
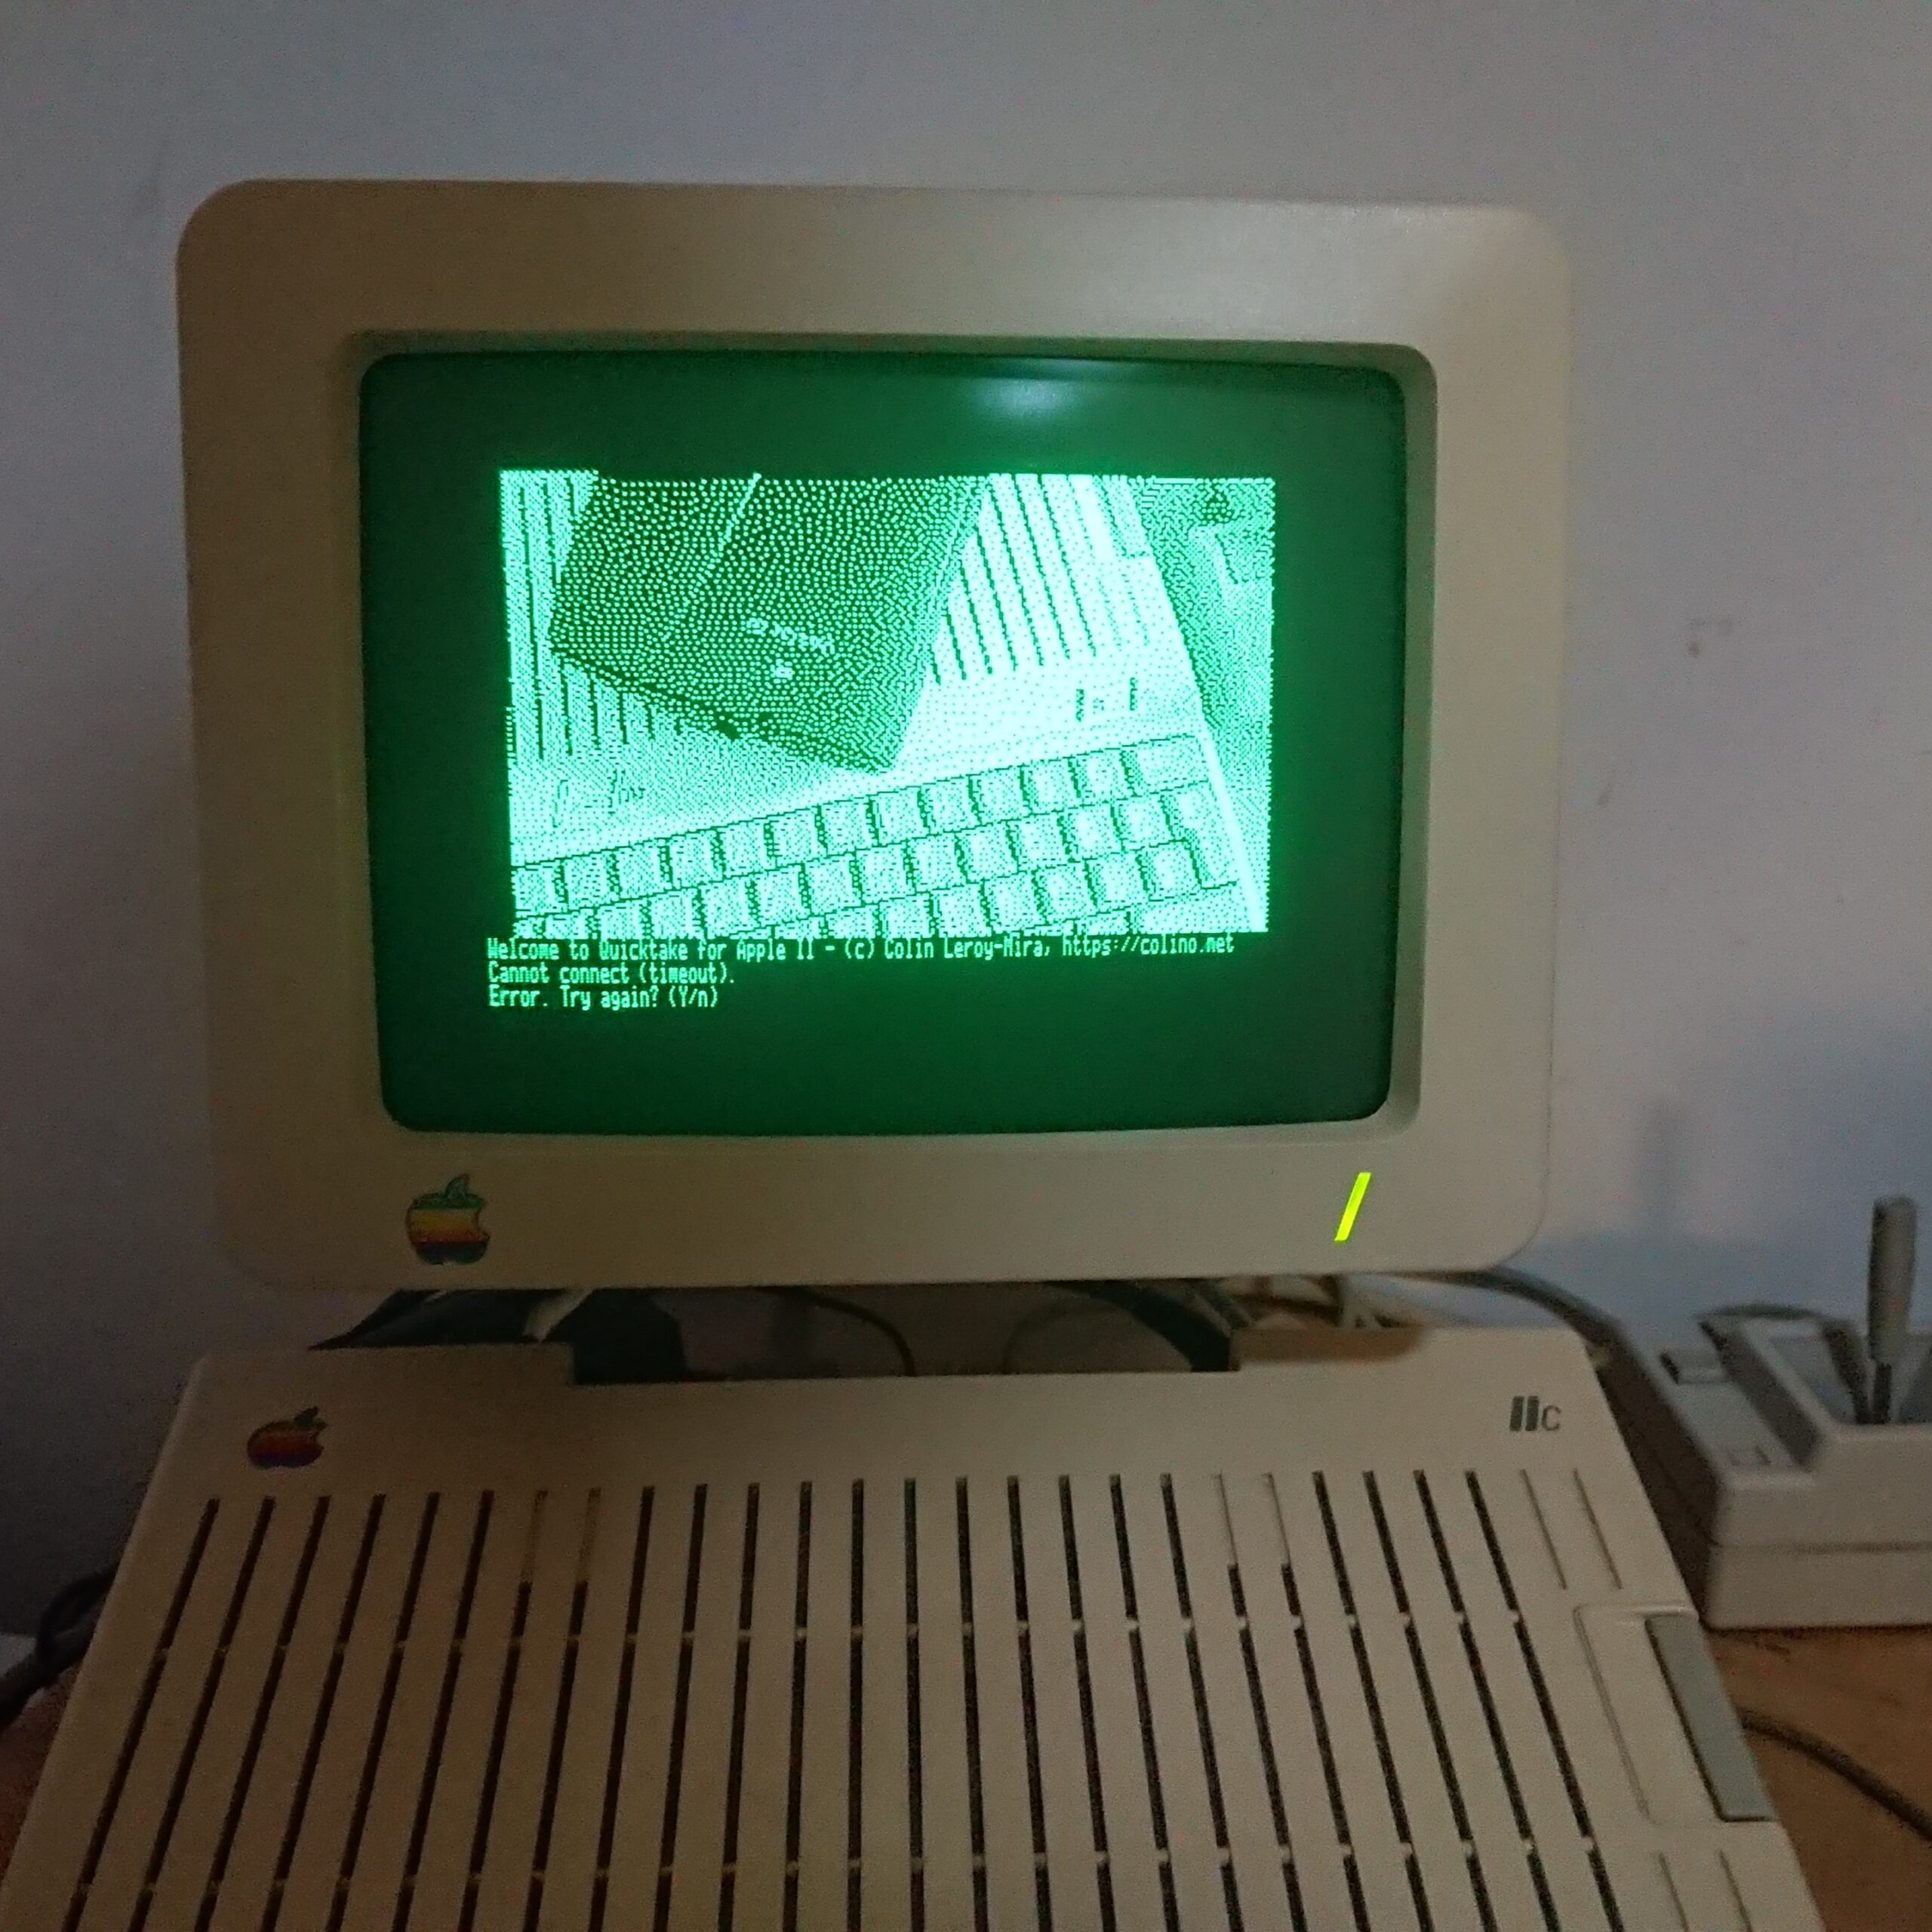
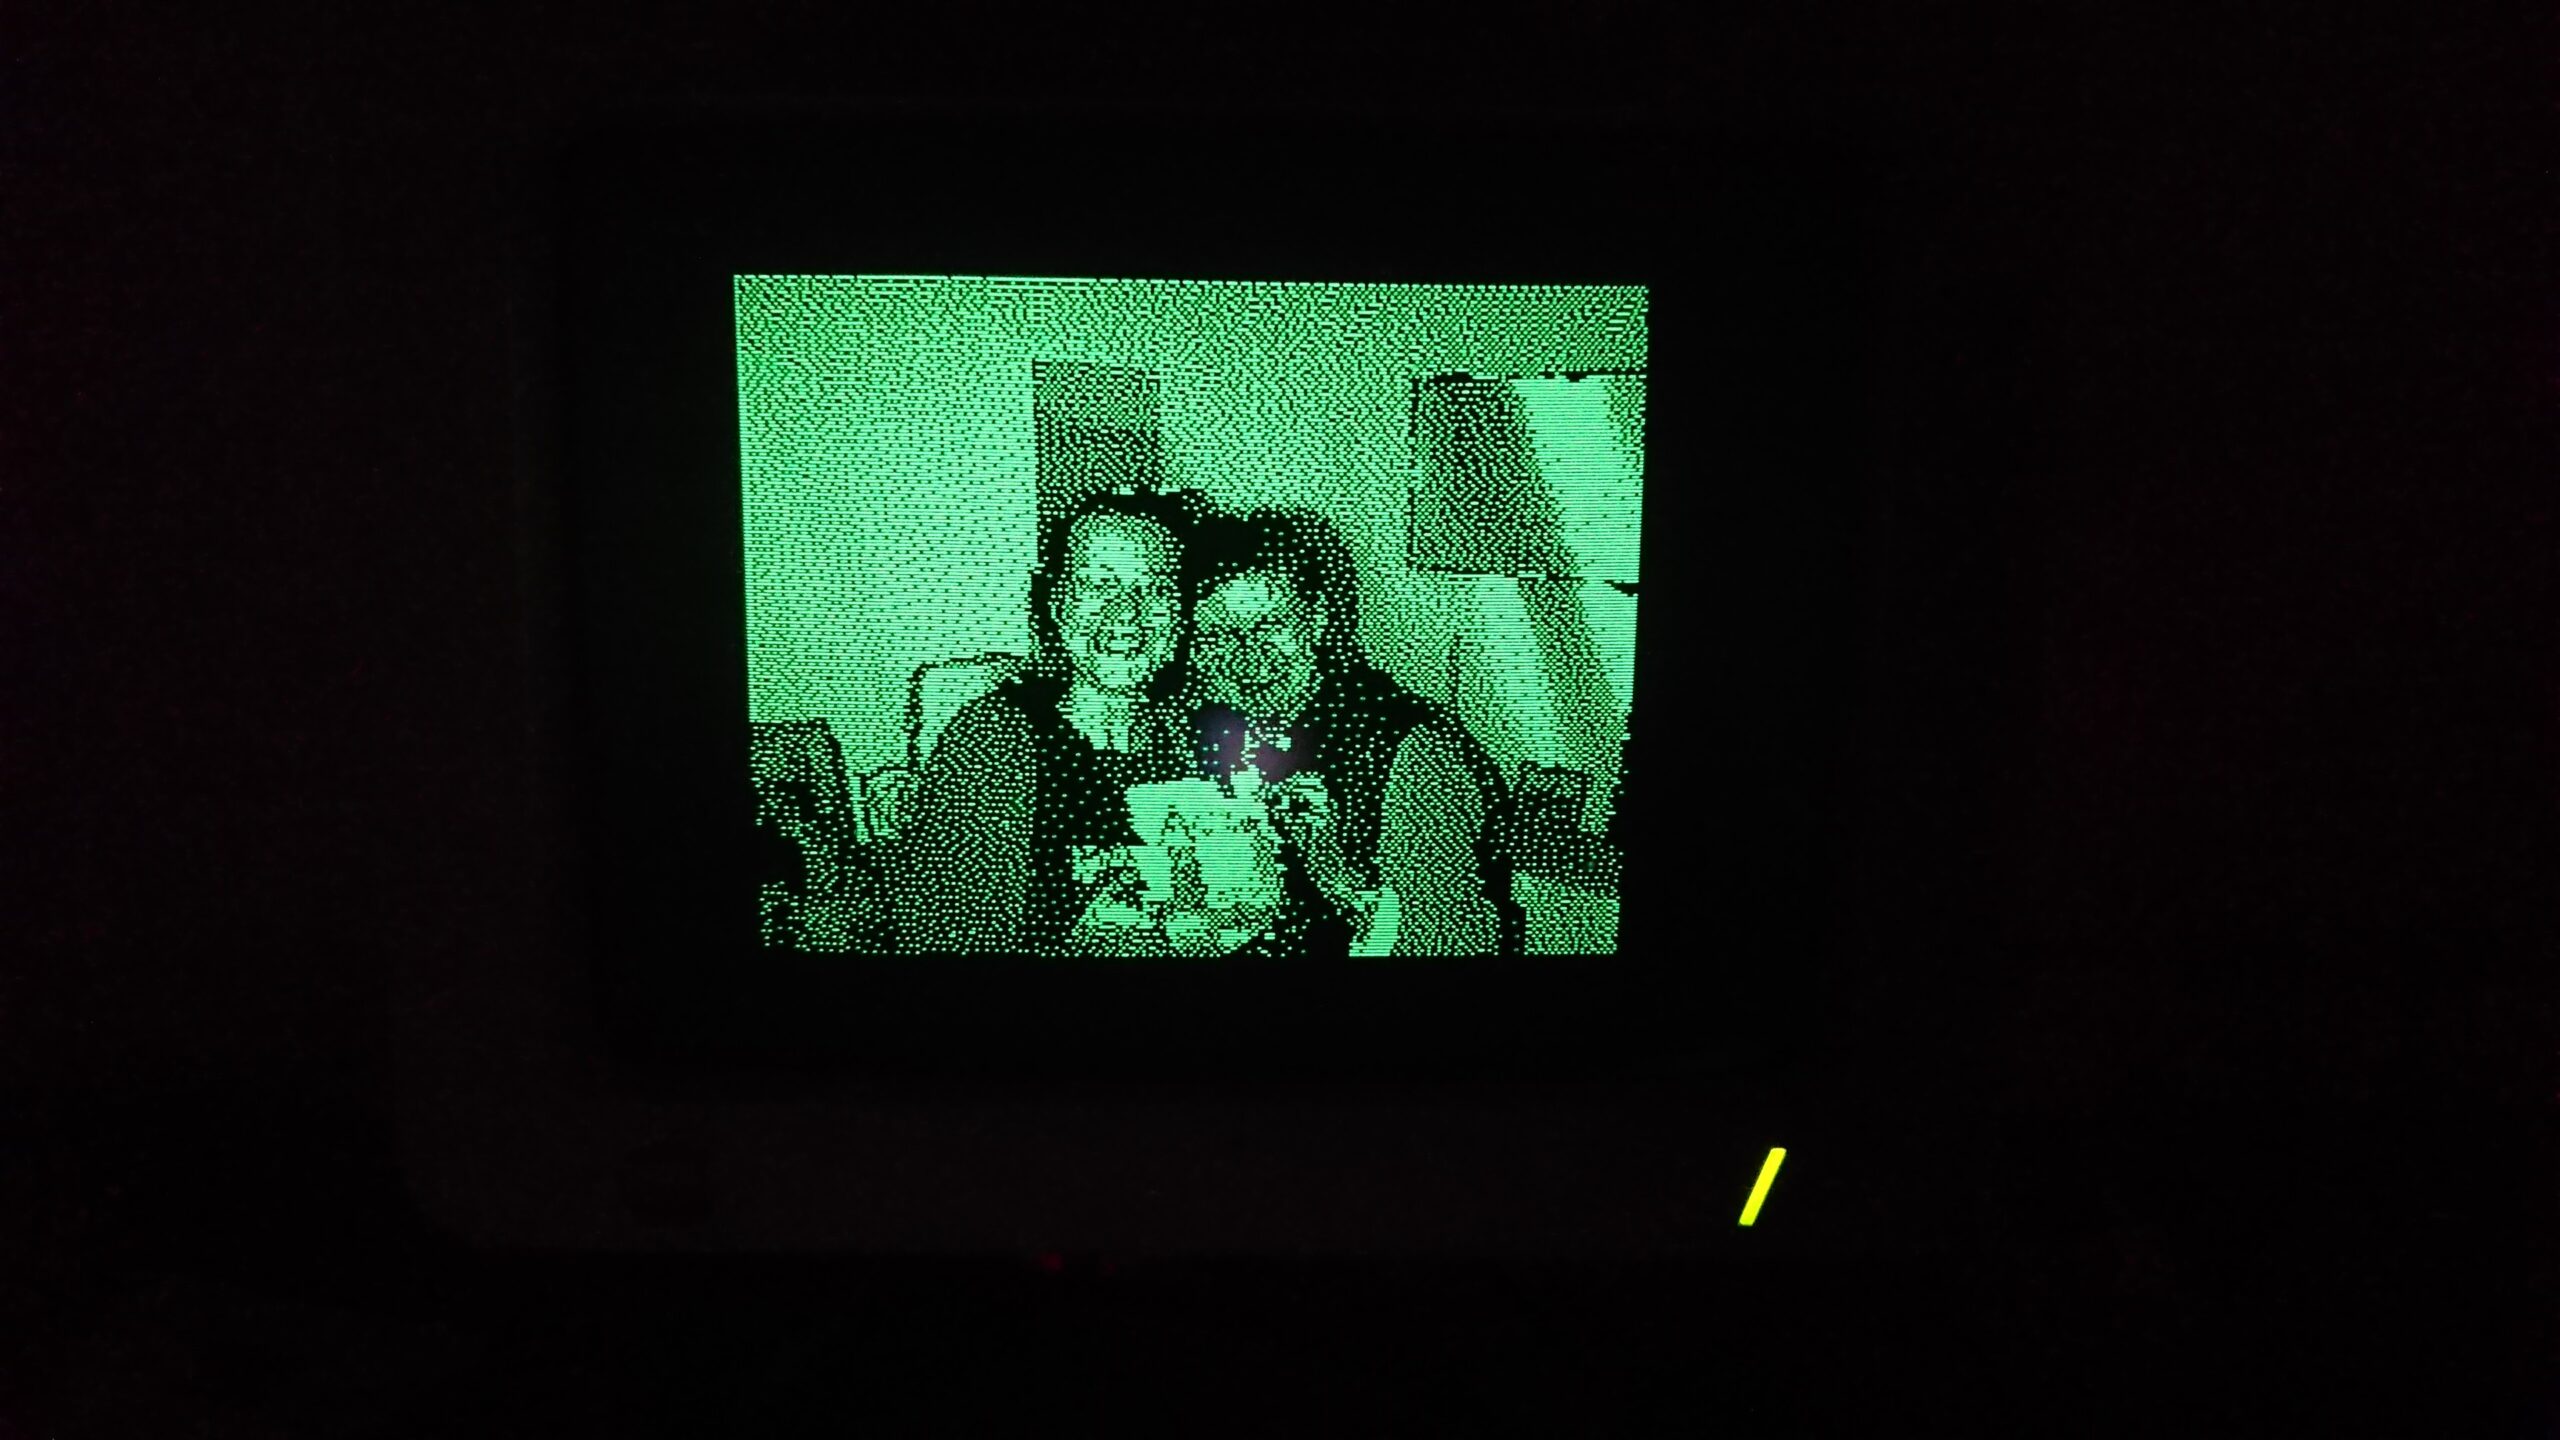
The software works on Apple //c, IIe (Extended 80 columns card and two Super Serial Cards required) and IIgs. It is best used with a monochrome monitor given that this is a monochrome implementation, and when using a color monitor, the infamous color bleeding of the Apple II renders images with green and violet pixels where we would want them white.
Connecting the Quicktake 100 or 150
On Apple IIe and Apple //c, a very specific serial cable is required due to hardware limitations. For the Apple IIgs, the standard AppleTalk 8-pin serial cable works.
Serial cable instructions
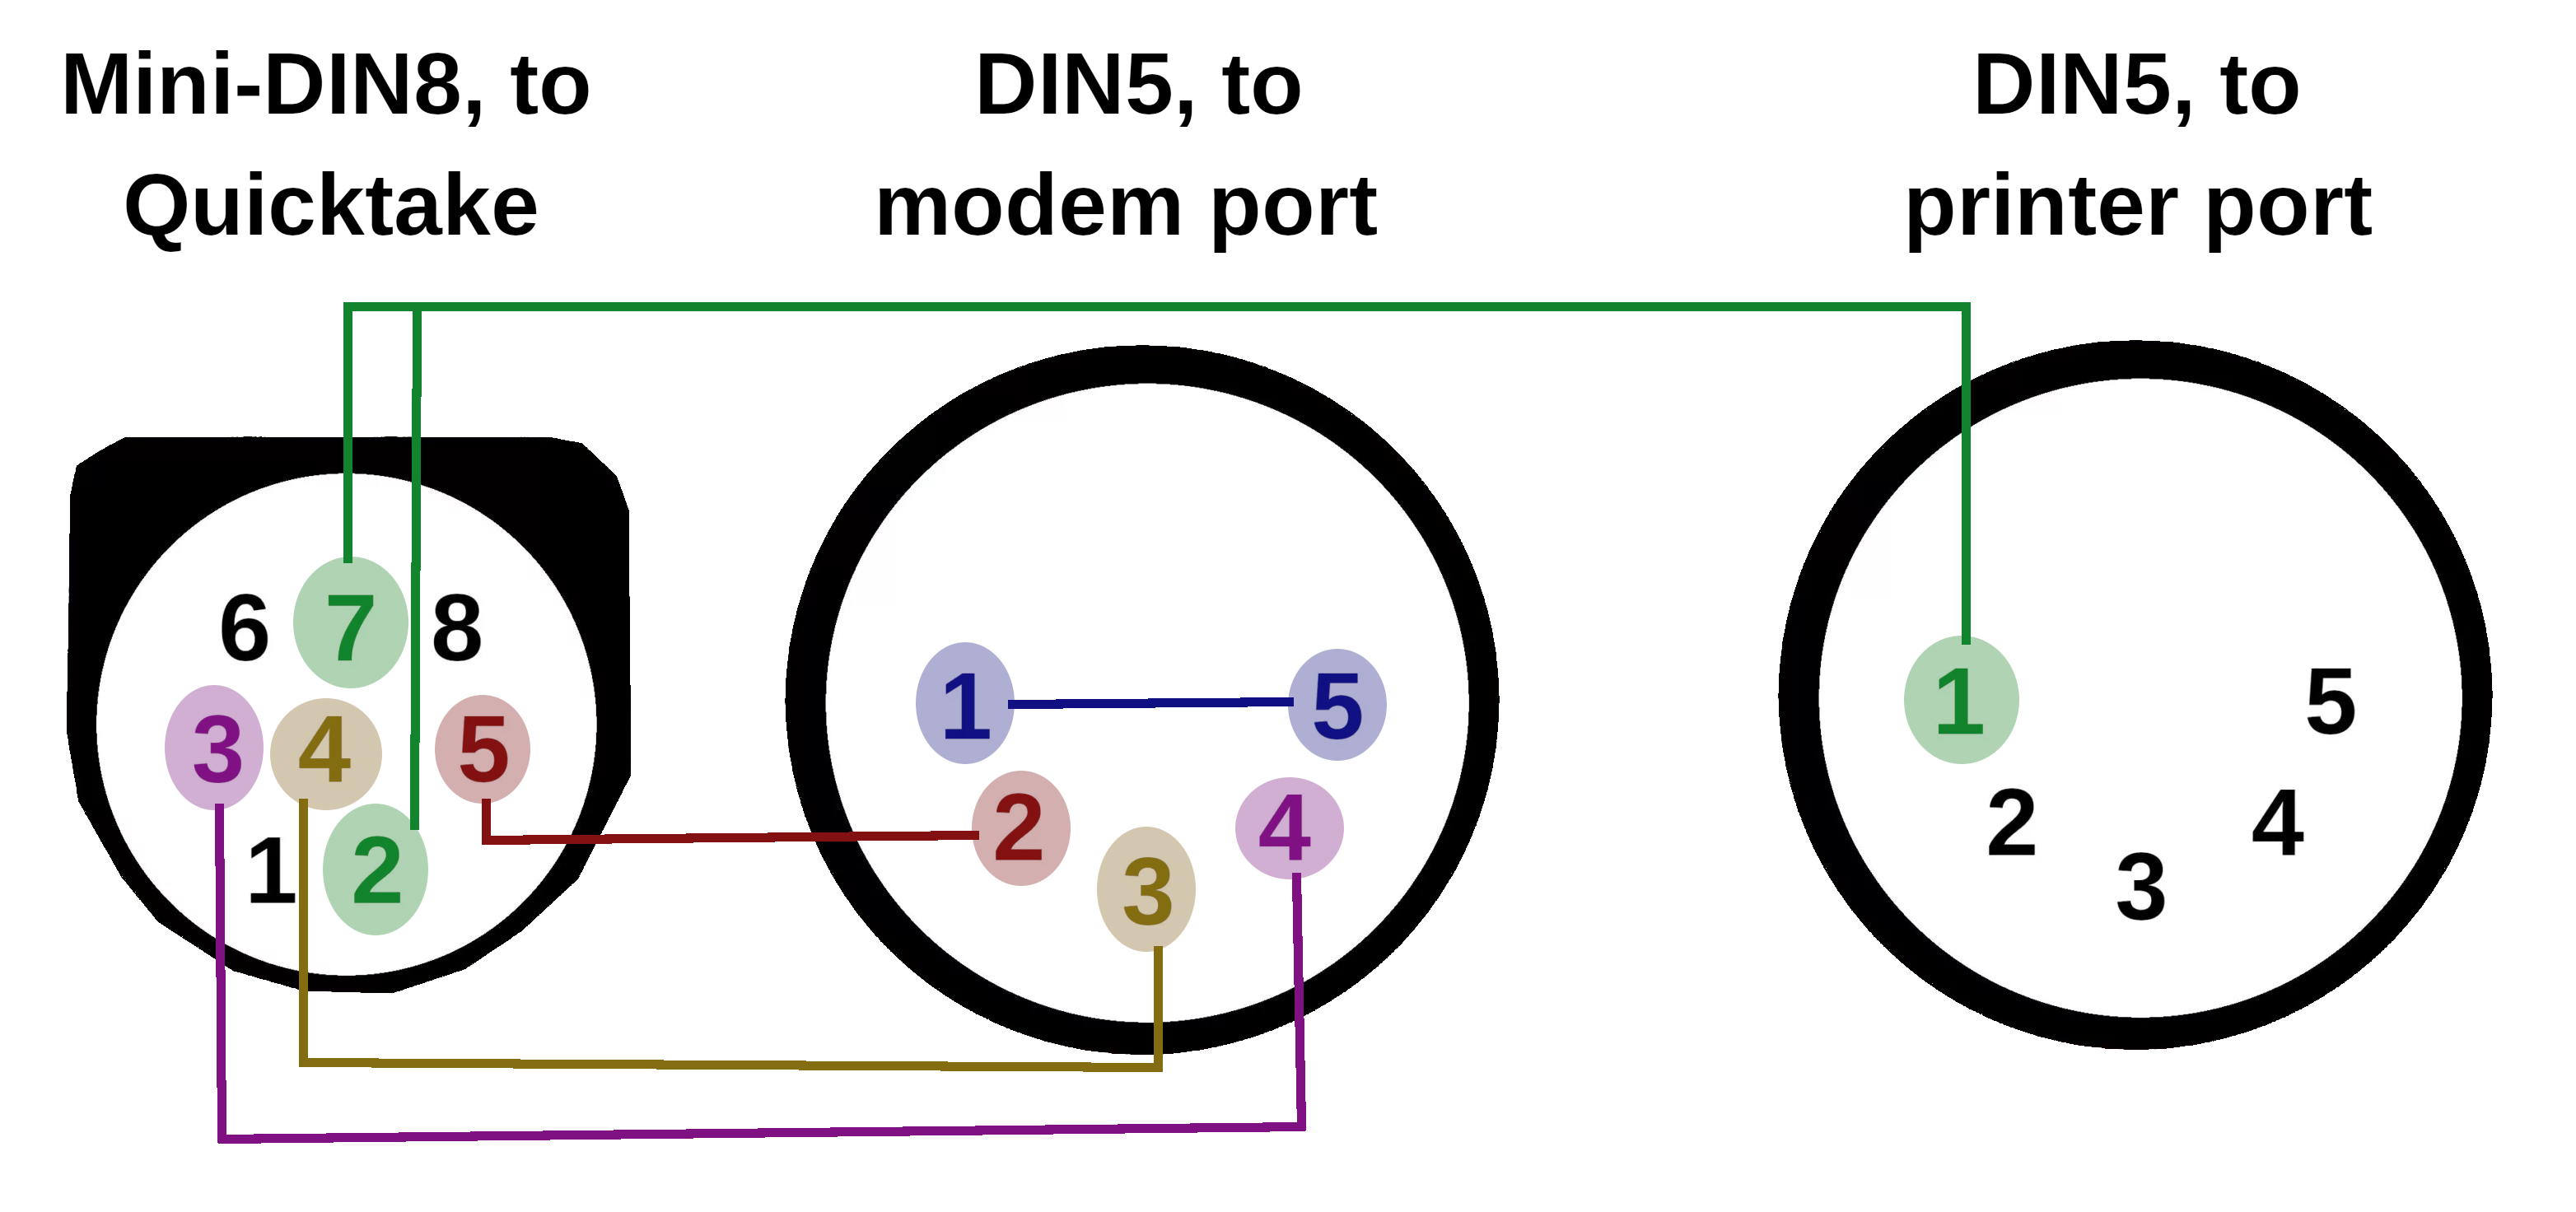
For the Apple IIc, the cable wiring is as follows:
Pin 1 (DTR) of the printer DIN5 is connected to pins 2 and 7 of the mini-DIN8 connector.
Pins 2 (TX), 3(GND) and 4(RX) of the modem DIN5 are connected to pins 5, 4 and 3 of the Mini-DIN8 connector. Pins 1 and 5 of the modem DIN5 are optionally wired together.

For an Apple IIe, with two Super Serial Cards (SSC) in slots 1 and 2, the cable is similar, but using DB-25 serial connectors instead of DIN-5: pin 20 (DTR) of the slot 1 connector goes to pins 2 and 7 of the Mini-DIN-8; pin 7 (GND), 2 (TXD) and 3 (RXD) of the slot 2 connector are connected to pins 4, 2 and 3 of the Mini-DIN-8.

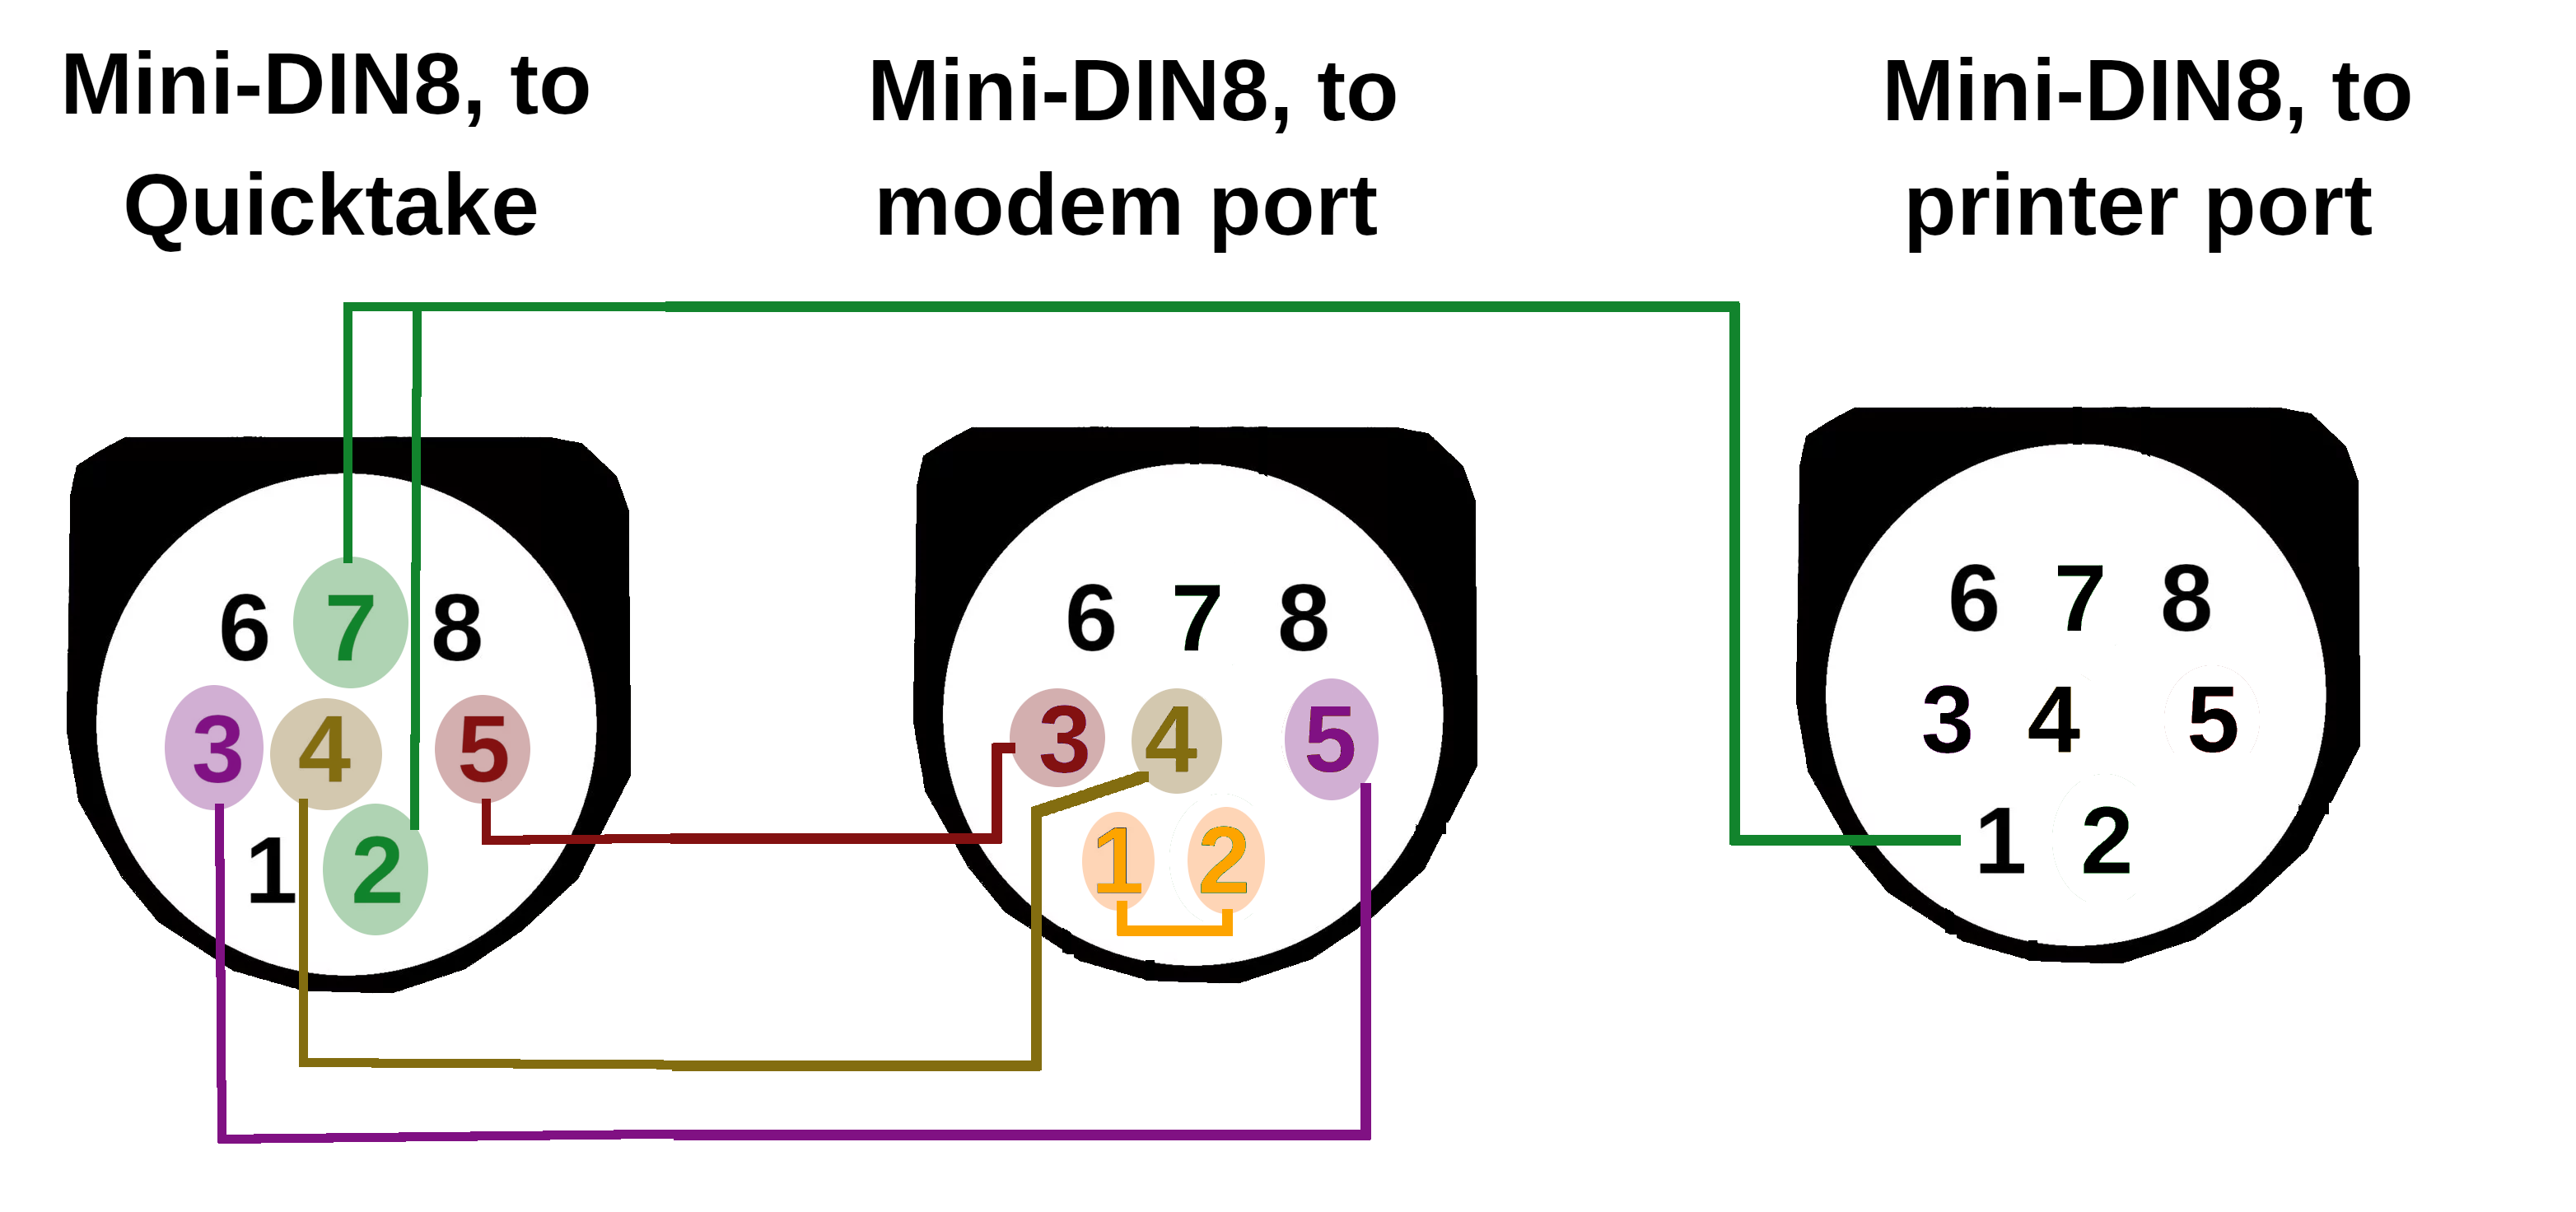
For an Apple IIc+, use this schematic (thanks to Hideaki Seike!)
Connecting the Quicktake 200
Connecting a Quicktake 200 is much simpler. The one that was lent to me came with a mini-jack to female DB-9 connector. It is a null-modem cable. On the Apple II side, I have another null-modem DIN-5 to female DB-9 cable. Two null-modems cancel the null-modem feature, so I plugged one into the other with a male-male null-modem DB-9 adapter.
Screenshots
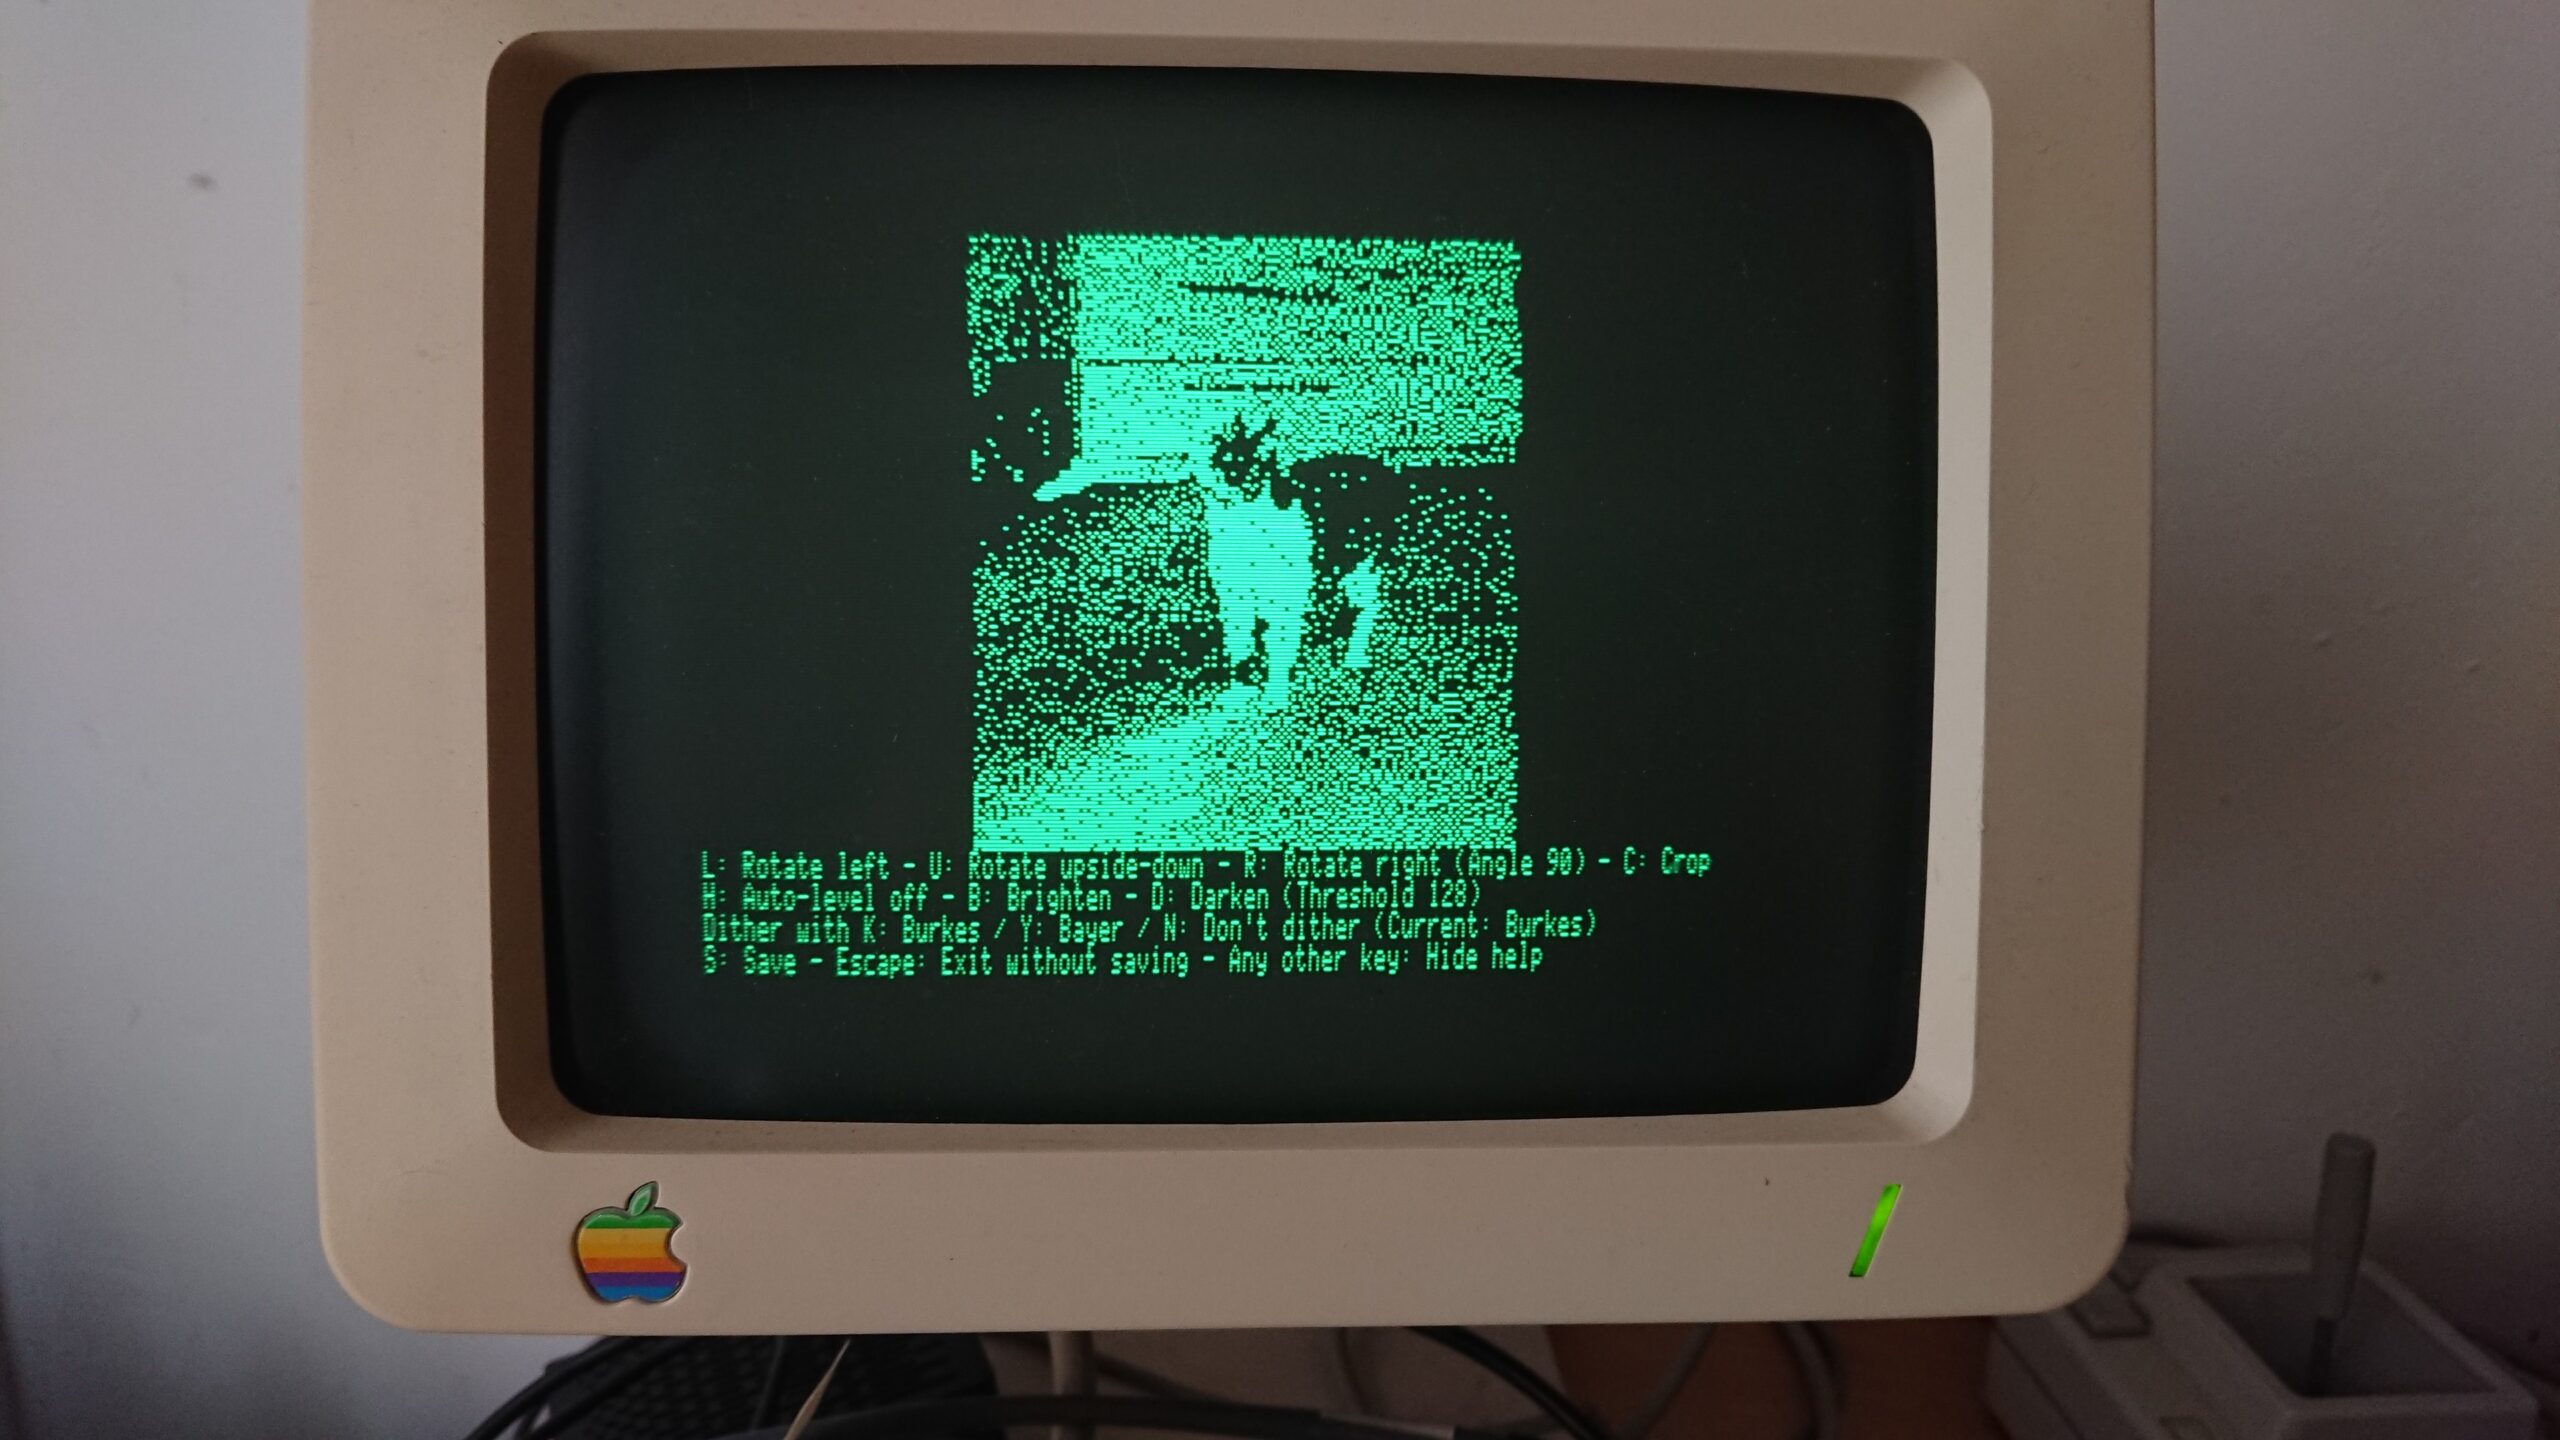

What the software can do
- Connect to a Quicktake 100, 150 or 200 camera
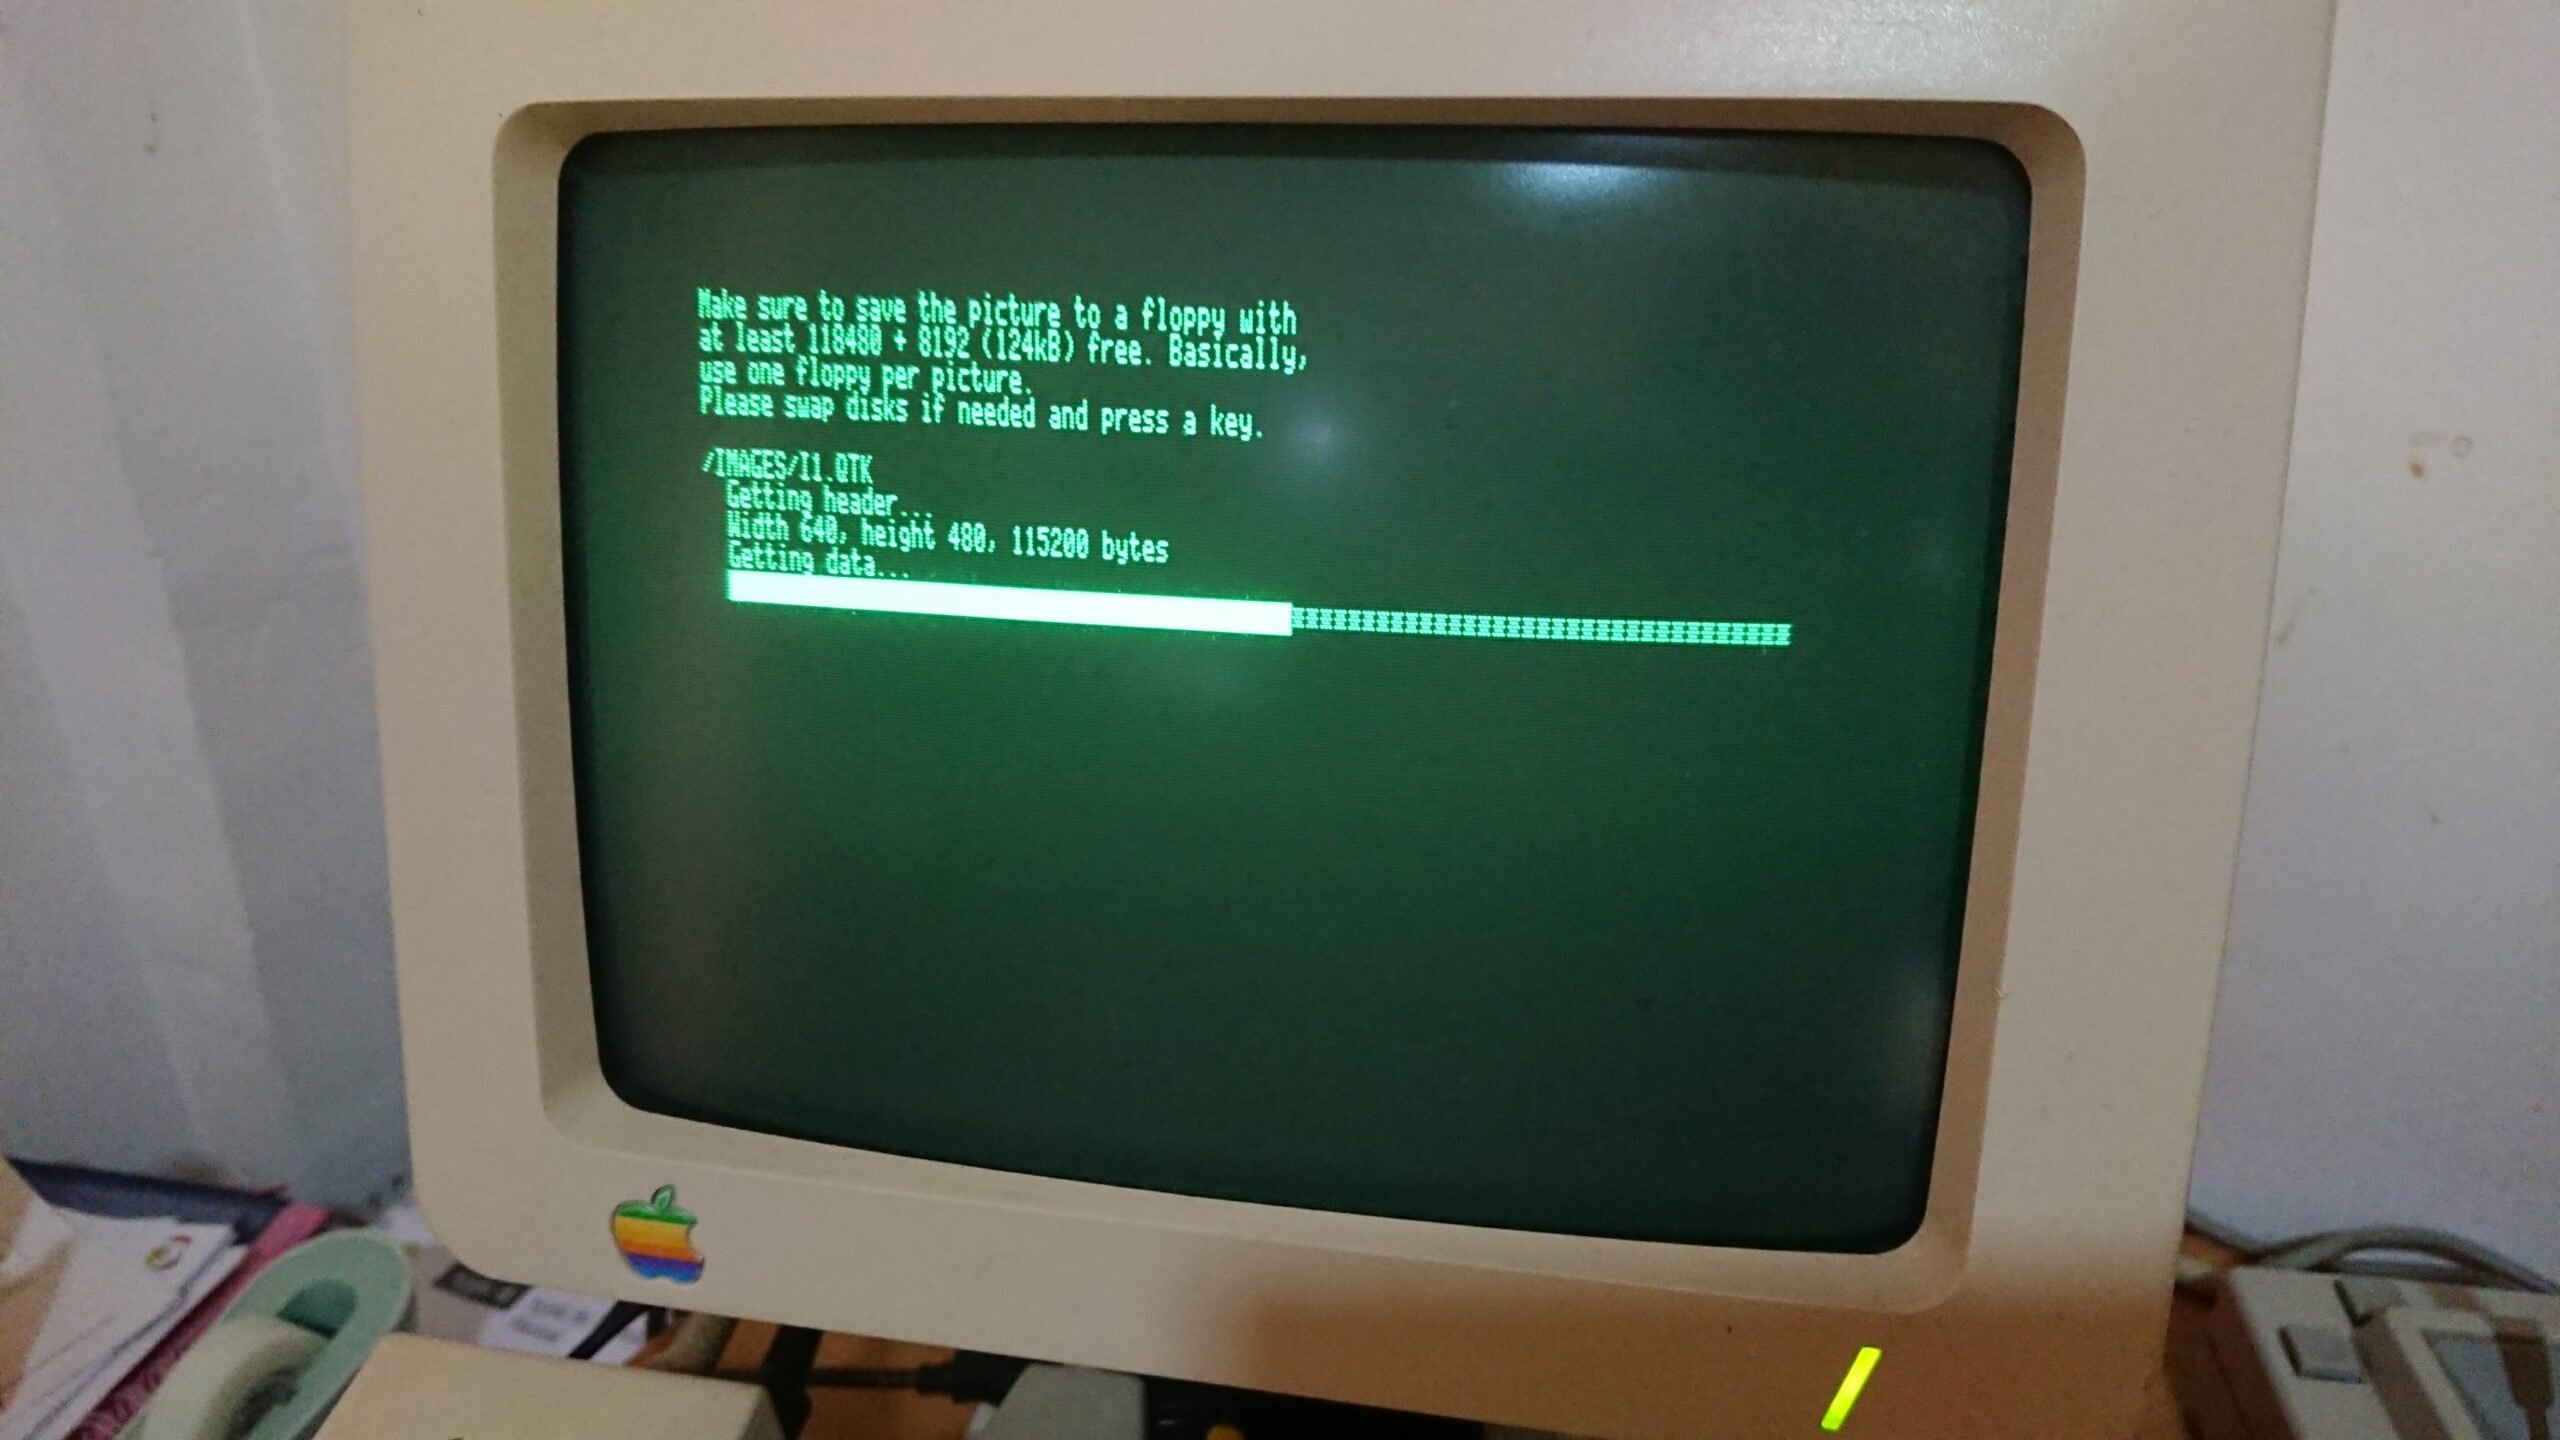
- Get photos from the camera
- Convert photos to HGR format:
- Auto-level (equalize histogram) photos for better contrast
- Manually alter photo brightness
- Dither using either Sierra Lite or Bayer algorithms, or don’t dither at all
- Rotate portrait-oriented photos and either scale them down to fit, or crop them
- Crop pictures to “zoom” into parts of it (512×384 and 256×192 for 640×480 pictures, 256×192 for 320×240 pictures)
- Conversions are cancellable, to get to the best result faster
- Save the raw photo and its HGR conversion
- Print pictures to an ImageWriter II
- These additional features are only available for the QuickTake 100 and 150:
- Delete photos from the camera
- Preview thumbnails from the camera
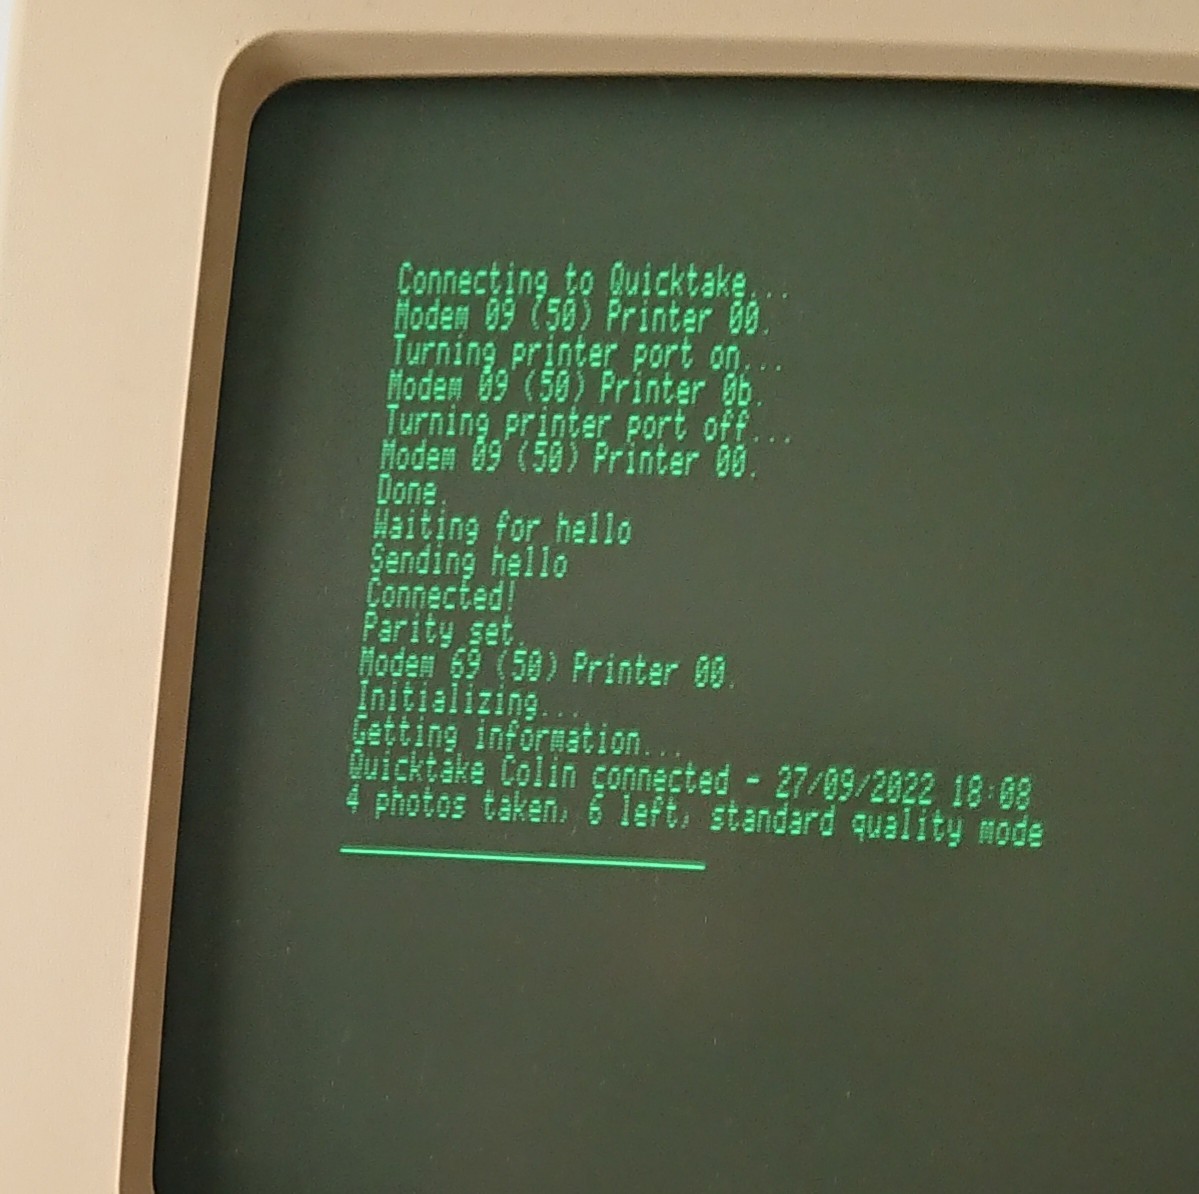
- Order the camera to take a picture, set flash mode, set quality
- Change the camera name and date/time
The performance
The performance is great in the sense that, with some settings, you will be able to get one coffee per picture, if you feel so inclined.
Here is some precise performance data for a “from the Quicktake 100 to the result on screen”, on a 1MHz Apple //c:
| Standard quality, 320×200 | High quality, 640×480 | |
| Downloading from the Quicktake 100 | 33 seconds | 1 minute 50 |
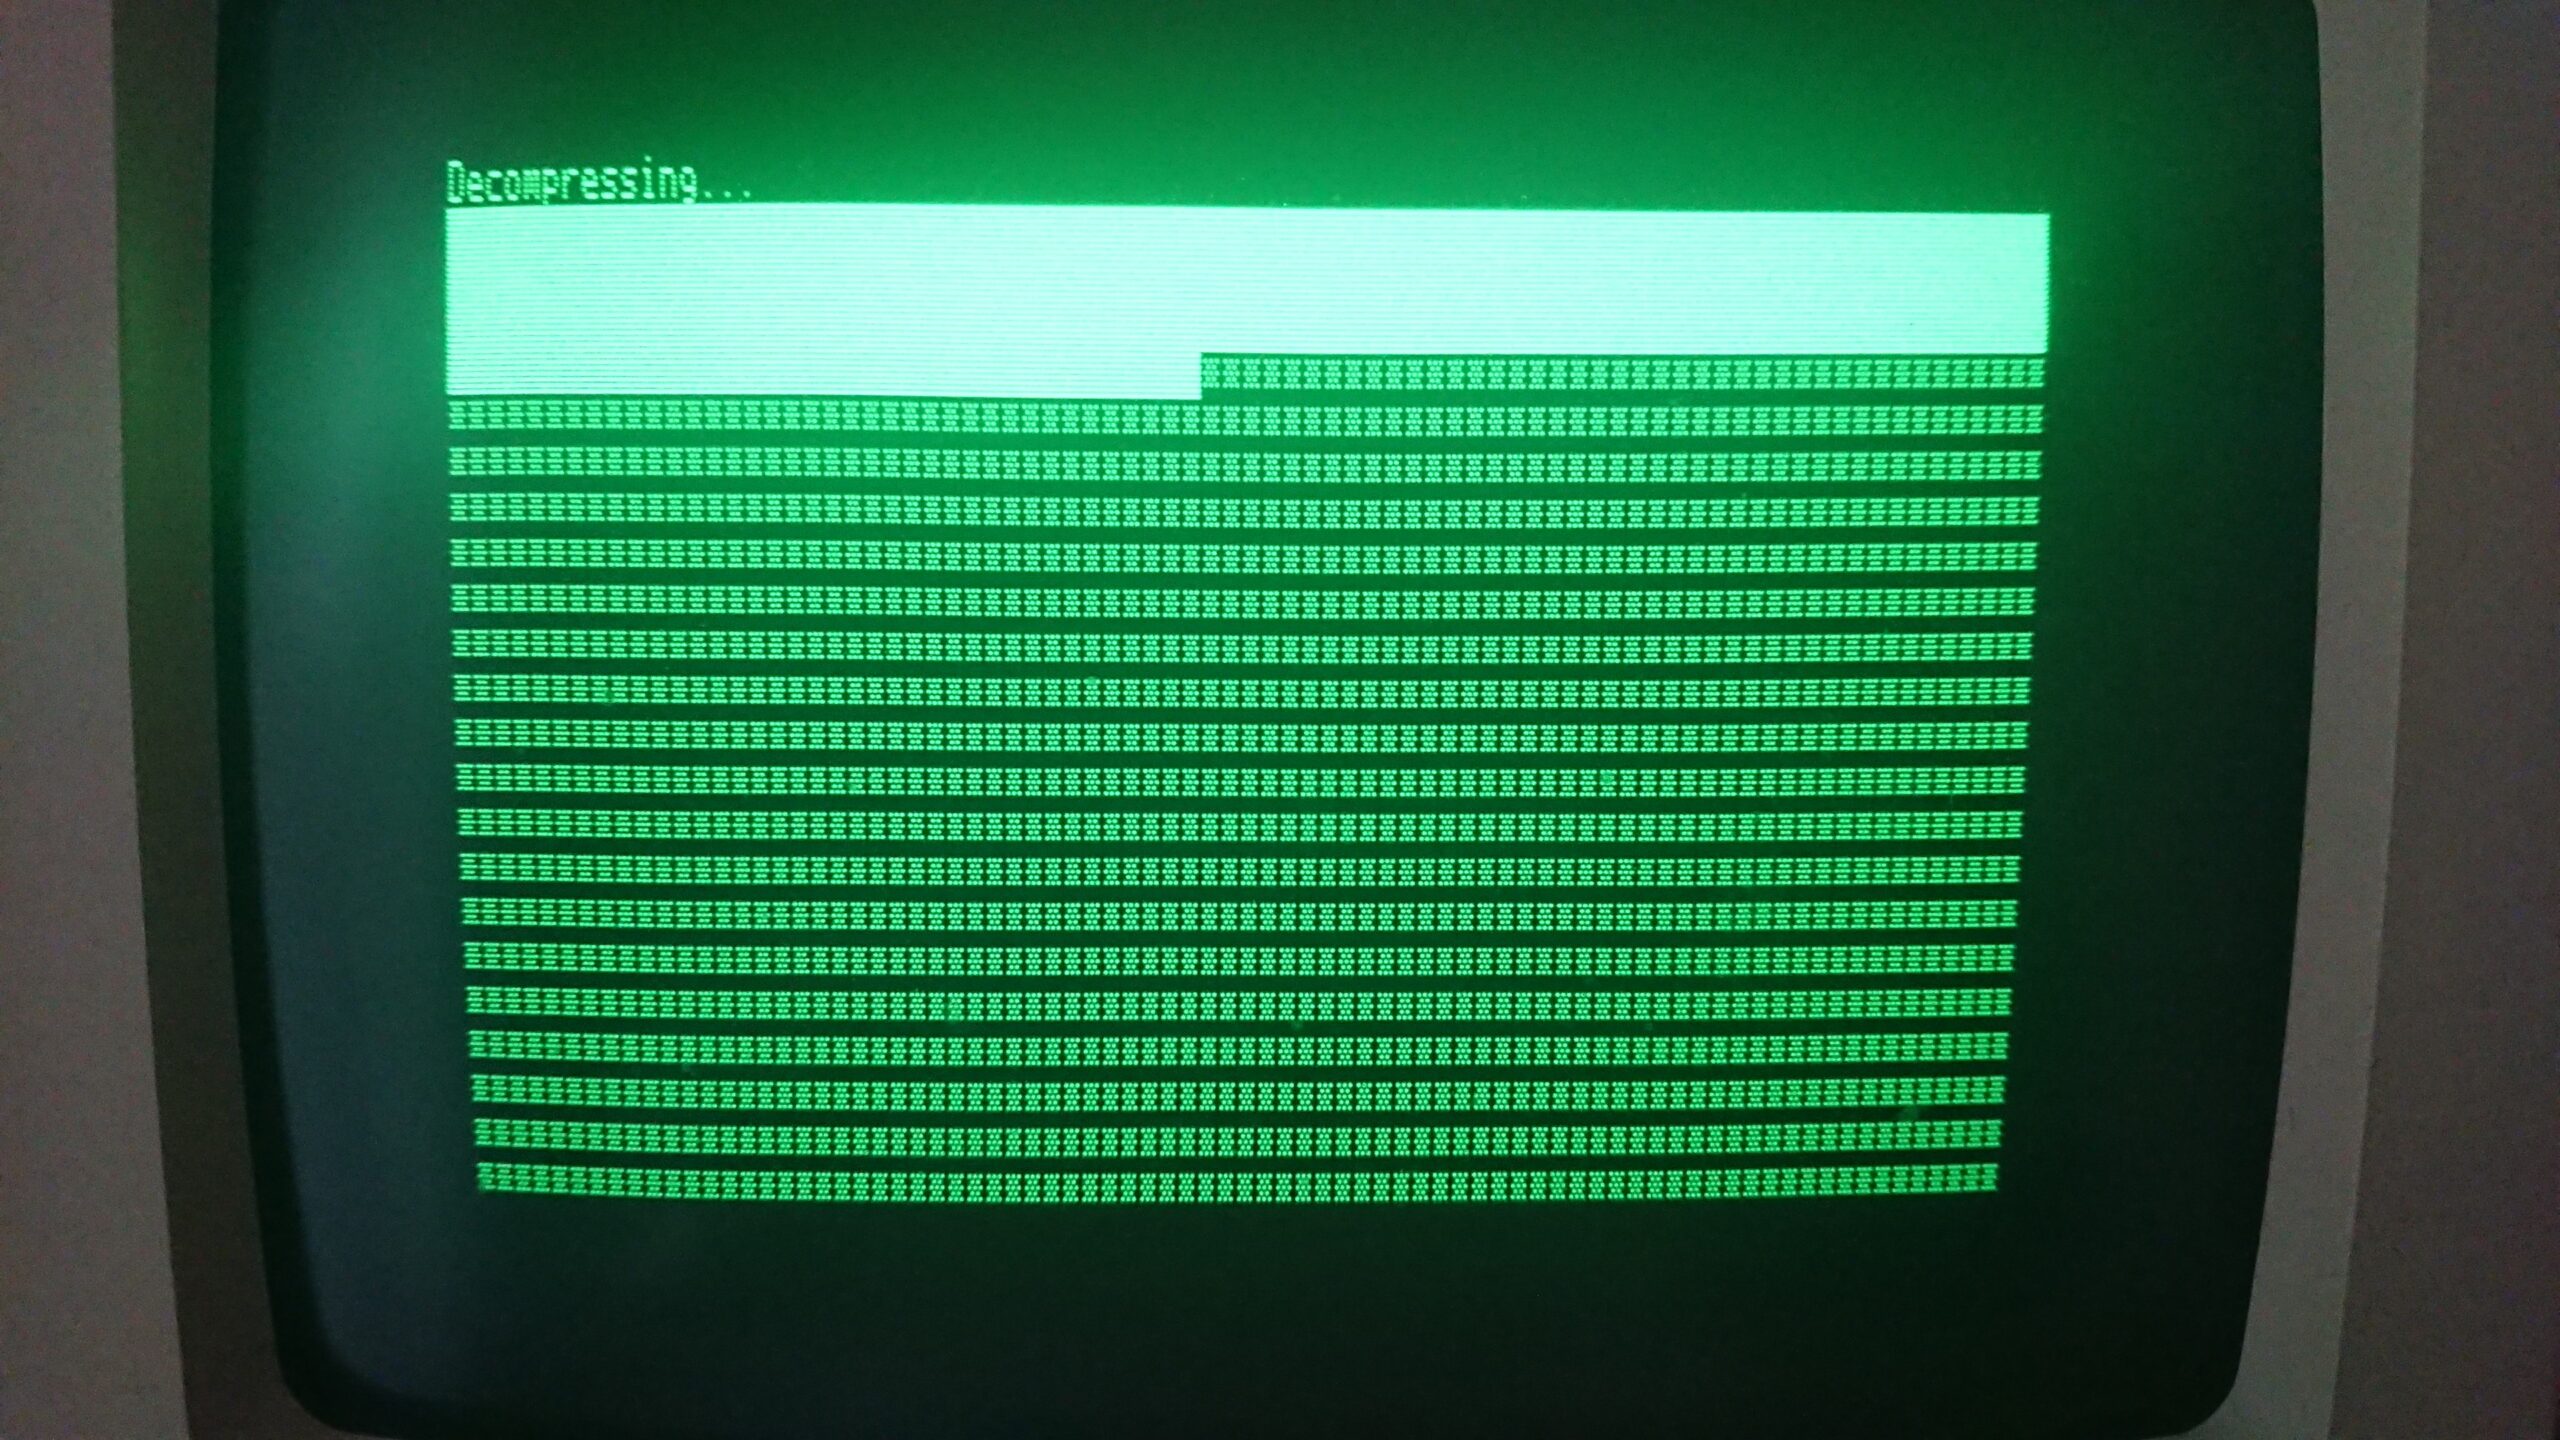
| Decompressing the picture | 9 seconds | 36 seconds |
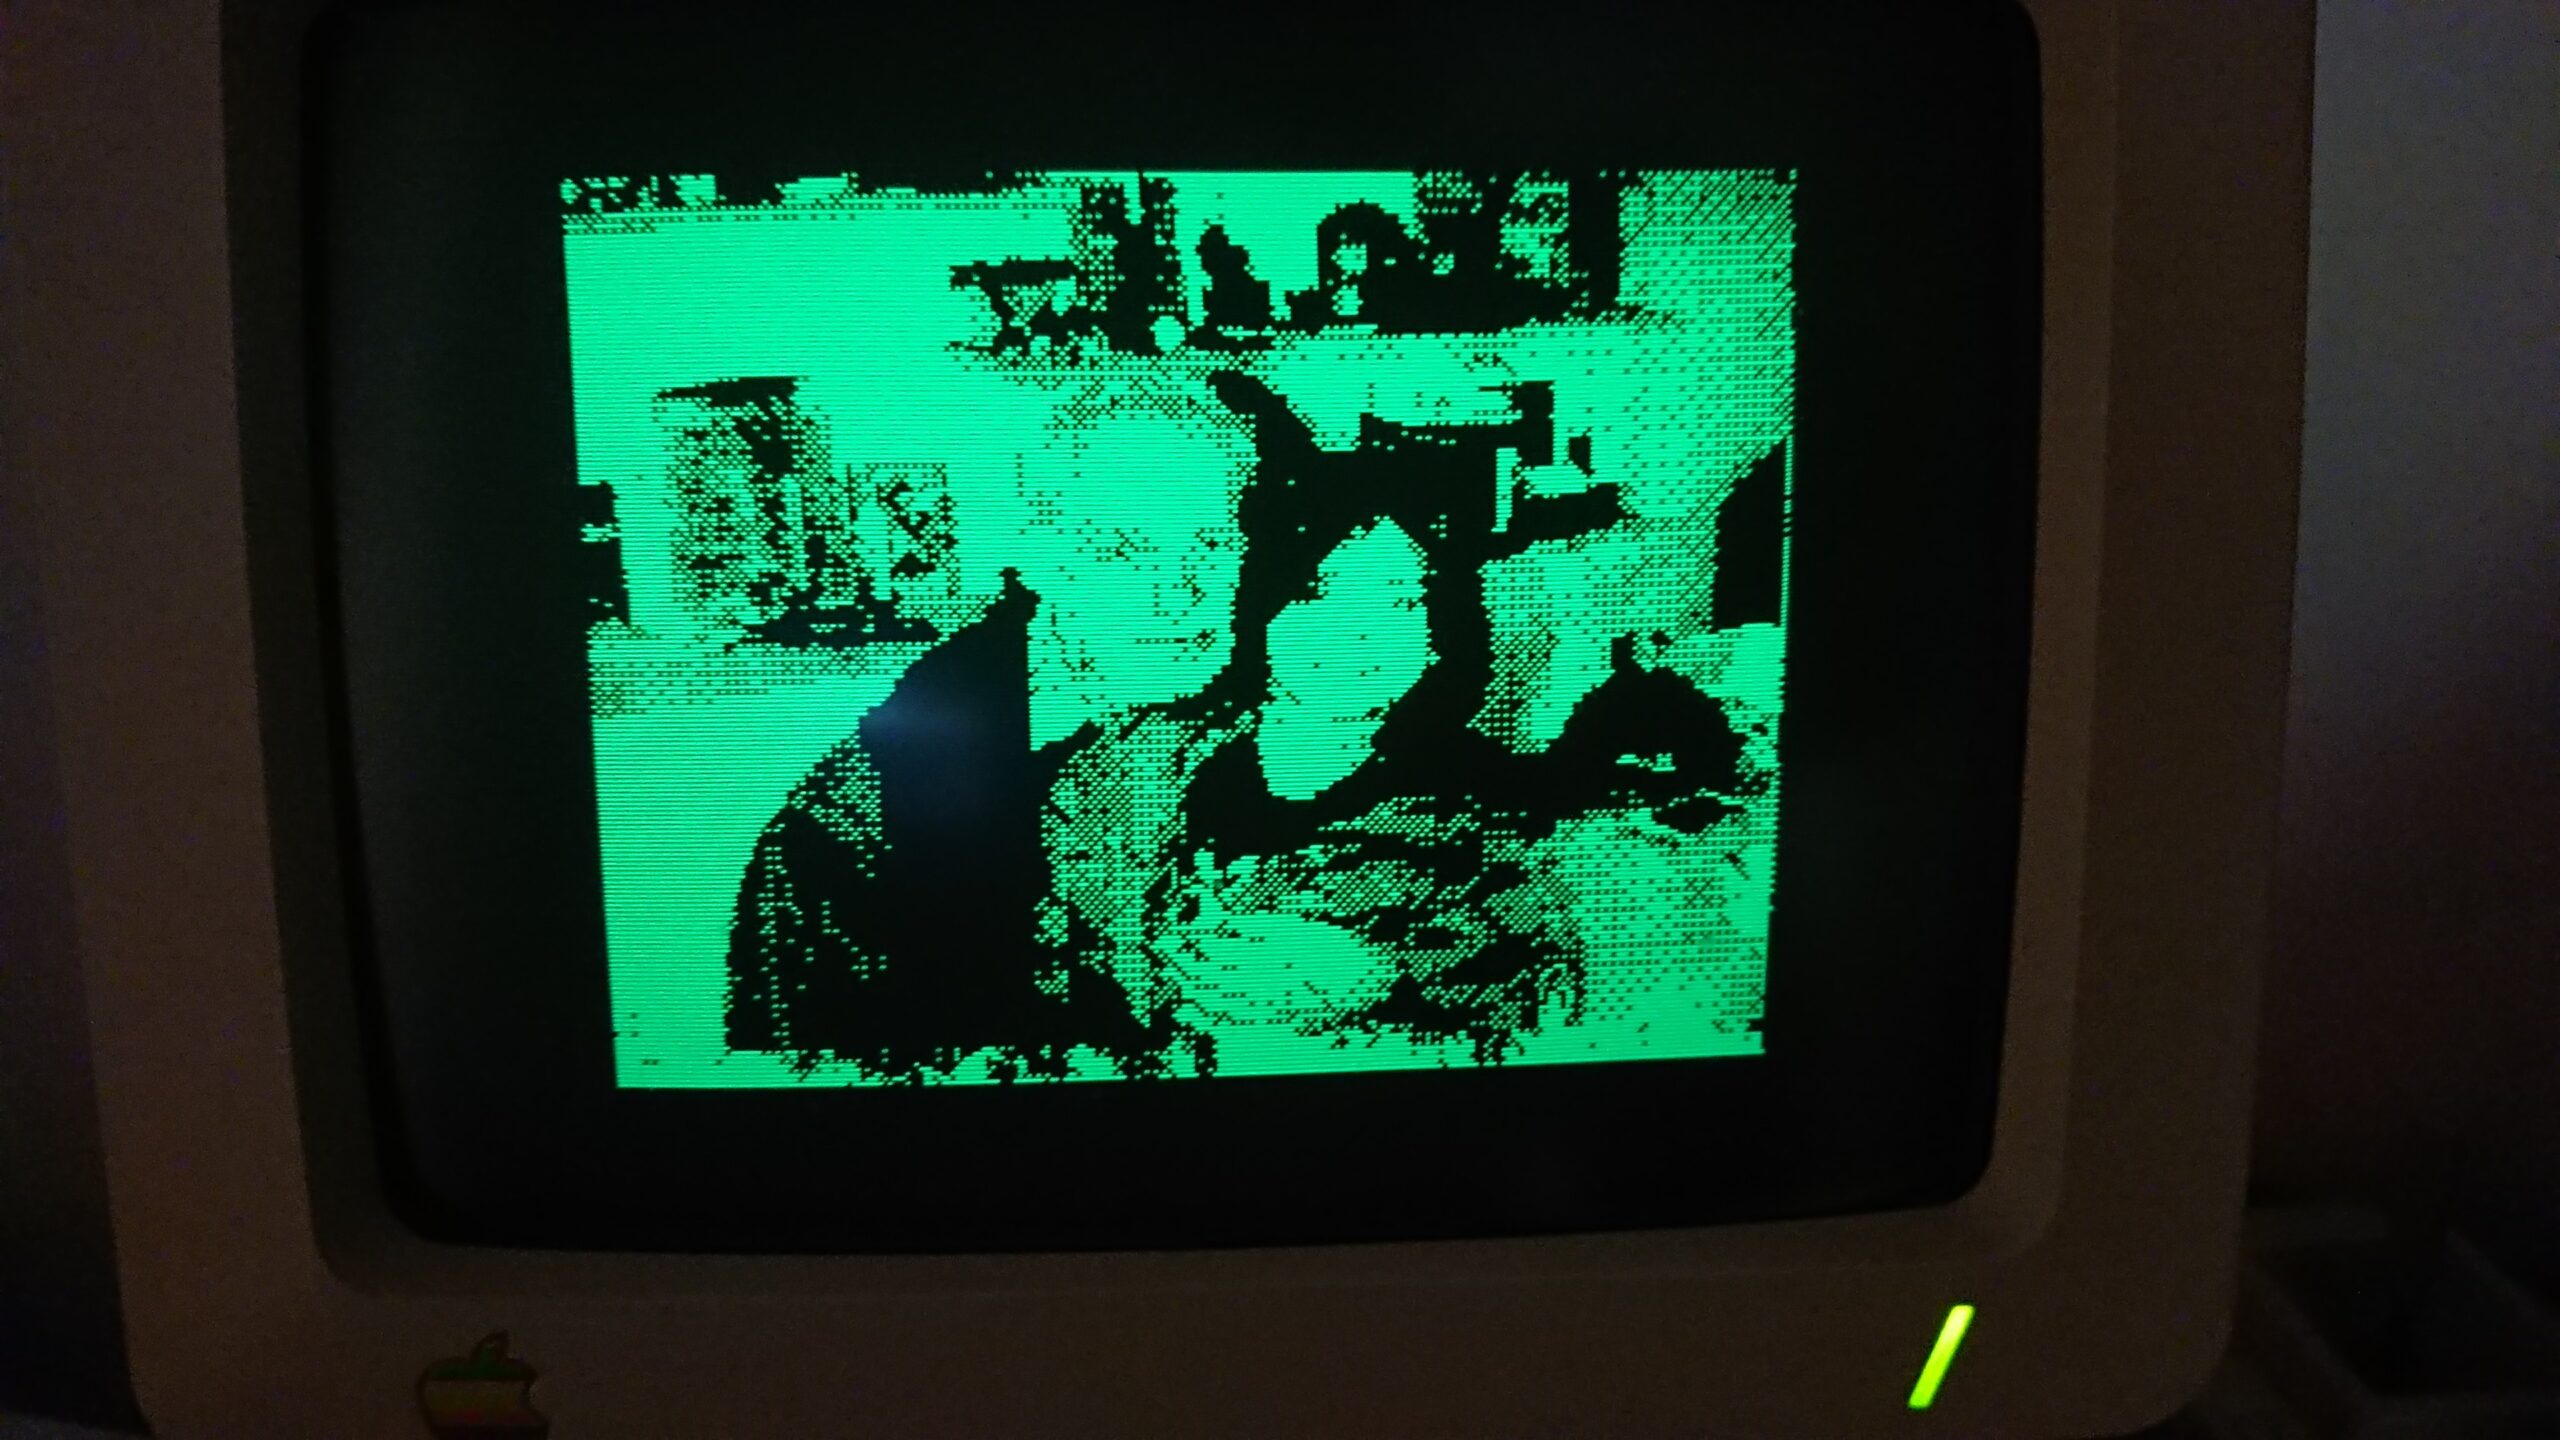
| Displaying the picture | 9 seconds | 9 seconds |
| Loading the programs from floppy | 19 seconds | 19 seconds |
| Total | 1 minute 10 | 2 minutes 55 |
Previewing a thumbnail takes about 10 seconds.
On an Apple IIgs, which has a faster serial port and CPU, you can divide these numbers by about 2.5.
The Quicktake 150 and 200 pictures are better compressed, with algorithms much more complex, so they require more math to decompress. The download time is about halved by the better compression, but the decompression time is longer: … 4 to 10 minutes on an Apple //c.
Why and how
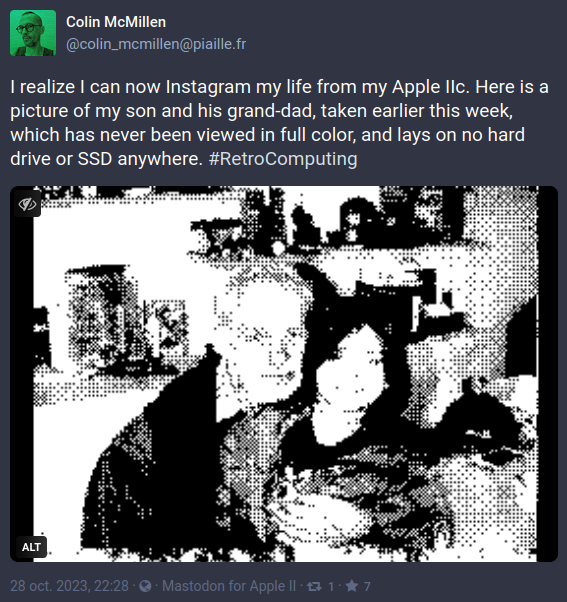
My Mastodon client being about complete, I wanted another retro computing challenge and it seemed like a good idea to find a way to be able to use it as I would use the website or the Android app: being able to post actual photos, instead of MousePaint drawings. I first investigated handheld scanners, but it seems like the vintage, pre-USB ones all came with a dedicated extension card, so that was not an option. Instead, I found an old Apple Quicktake 100 camera, and set out to reverse engineer its serial protocol and image format, and develop a Quicktake for Apple II program.
I started with the image format while I was waiting for the actual camera to arrive. I didn’t have to reverse-engineer it, as dcraw handles its raw format. However, I had to reverse-engineer dcraw, and in hindsight, that was… harder than the serial protocol.
dcraw is a very powerful tool, that handles more than 700 different cameras, and it comes in the form of one (1) source file, containing 10500 lines, of which 9878 are code, 443 are blank, and 184 (!) are comments. It starts with a block of 32 lines packed with global variables. None of the comments actually explain anything about the decoding algorithms. If I were a mean person, I would say that dcraw is a huge pile of awful, unmaintainable code. But then I remember that it’s a pet project of an individual doing it on his free time, for free, and that he’s absolutely entitled to programming in whatever style he wants.
I started ripping it apart, removing every *_load_raw() function for cameras I’m not interested in, then removing all command-line argument parsing, then removing every unused variable and function that -Wunused told me became useless. Each compilation with -Wunused lead to removing more code. A final pass made it possible to remove variables that were only set but not actually used, and I ended up with less than 500 lines of code, most of them being the actual ADPCM decompression algorithm.
That first step was necessary, but absolutely not enough to imagine running it as is on an Apple II. First of all, loading the full compressed image in memory, about 120kB, would not be possible. Then, decompressing it into a temporary buffer (uint8 pixel[484][644], that is 312kB) would absolutely not be possible. Then, copying this temporary buffer to the final result (640×480, another 300kB) would still be inimaginable. The Apple IIc has 64k of main RAM, with about 40kB usable by a cc65 program, and 64k of auxiliary RAM, difficult to use efficiently due to its adressing mode.
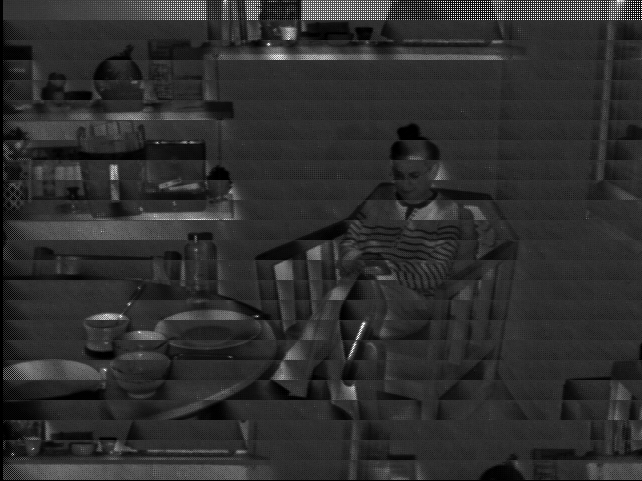
The solution I found was to load, decompress, down-scale and dither the image one horizontal band of 640×20 pixels after another. The drawback of this is that once you arrive at the end of the image, you’re done, but you can’t do any auto levels correction, because you long forgot the 24-bit data for the previous bands. You also can’t dither with a good algorithm because it resets between each band. But I didn’t see another solution. As you can see, there is quite little wiggle room once this basic method is implemented:

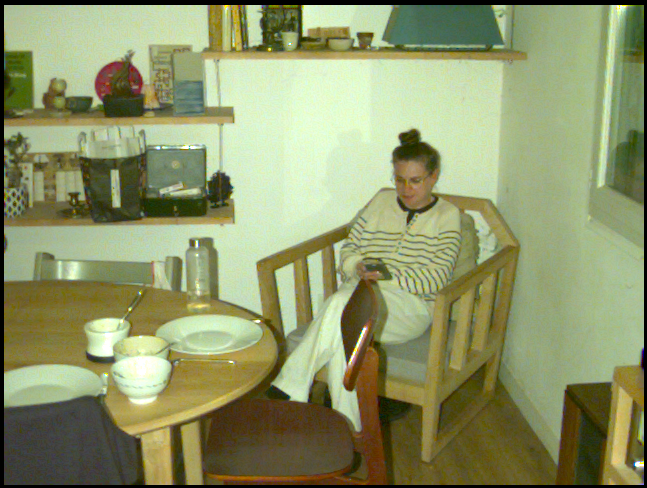
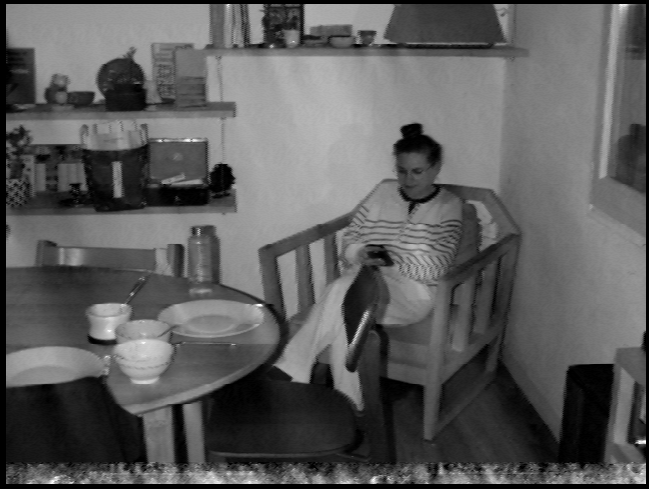
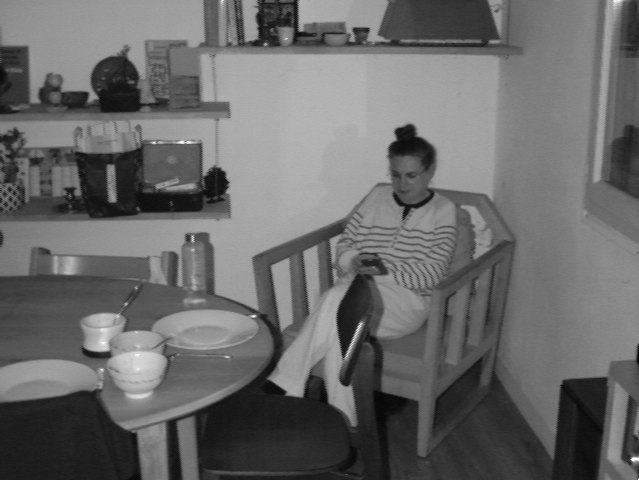
After a few quite intense evenings, I was able to correctly decode an image:
At first, the algorithm took… 90 minutes to decode and convert a 640×480 photo! I managed to get this down to 15 minutes by avoiding everything that’s difficult for a 6502, like multiplications, shifts, and direct image[row][col] accesses – which hide multiplications. As you may know, the 6502 doesn’t do hardware multiplications, so to access image[405, 100], it has to do 640*405 the old-fashioned way, (hex) digit by (hex) digit, then add 100.
A second hard look at the algorithm made me realize that while I must decompress and resize the image by 20 pixels bands, I have, in fact, enough RAM to store the resized, 8bpp grey-level result, as 256x192x8bpp is a 49kB array into the auxiliary RAM. That allows me to auto-level the greyscale image, and dither in one pass with a better algorithm (Sierra Lite) than the first one I used (Bayer); The results are much better with this technique, and it doesn’t even take longer!
And lots of optimizations later, the time is now about 35 seconds, and I’ve learnt assembly.
For the serial protocol, the best thing I found was to install a Windows 3.11 VirtualBox VM, install the Quicktake software on it, and strace the VirtualBox process. Filtering on ioctl(), read() and write() on /dev/ttyUSB0’s file descriptor gave me a good idea what the application was doing. Adding relative timestamps helped me figure out the required delays. The strace command I used is sudo strace -p 1242484 -f -eread,write,ioctl -r.
This gave me this sort of thing to work with:
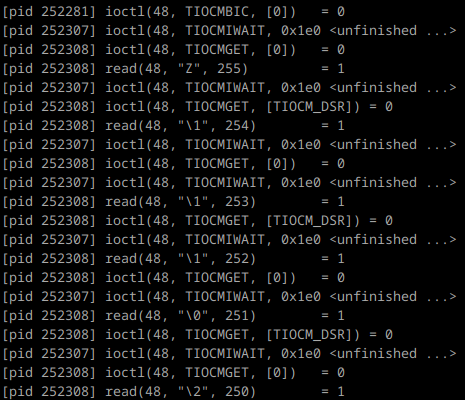
Strace is not very fun to work with as it insists on outputting octal characters and I’d rather have hexadecimal (the -e r=48 -e w=48 options tentatively fix that, but are horrible when bytes are read/written one by one). But, that’s still better than nothing, and I didn’t manage to get anything else (like slsnif) working.
Reverse-engineering serial communication of such an old protocol is not rocket science once you can actually see the bytes exchanged, and it can be done by iterating and adding knowledge with multiple tests, changing one variable at the time.
I iterated on the protocol by first very naively reproducing what I saw, with function names like “send_first_command”, “send_second_command”, and so on. At first the commands made no sense, and neither did the replies. But dump everything and look at the hexadecimal outputs, compare them with an actual QTK image extracted from the VM, and you will see where which bytes go. “first command” becomes “header command”, “second command” becomes “data command”, and so on.
Transfer a high-quality picture and a low-quality picture, see which bytes change in the header, calculate their values and you find where width, height, size are. Take one more picture, see which byte got decremented by one in the camera’s summary. Notice which byte changes when you transfer the first, the second or the third picture on the camera: that’s your index right there. Etc.
I managed to get most features working on my development PC: Getting camera information, getting a picture, deleting pictures, setting the camera’s name and date, taking a picture.
I have documented all my findings about the Quicktake 100/150 serial protocol in a distinct post.
I could see an added difficulty right from the beginning: the Quicktake 100 only starts talking to the PC once the DTR line is cleared (This may be why I couldn’t get slsnif to work). It is a simple matter of an ioctl() on a modern POSIX OS with modern serial “cards”.
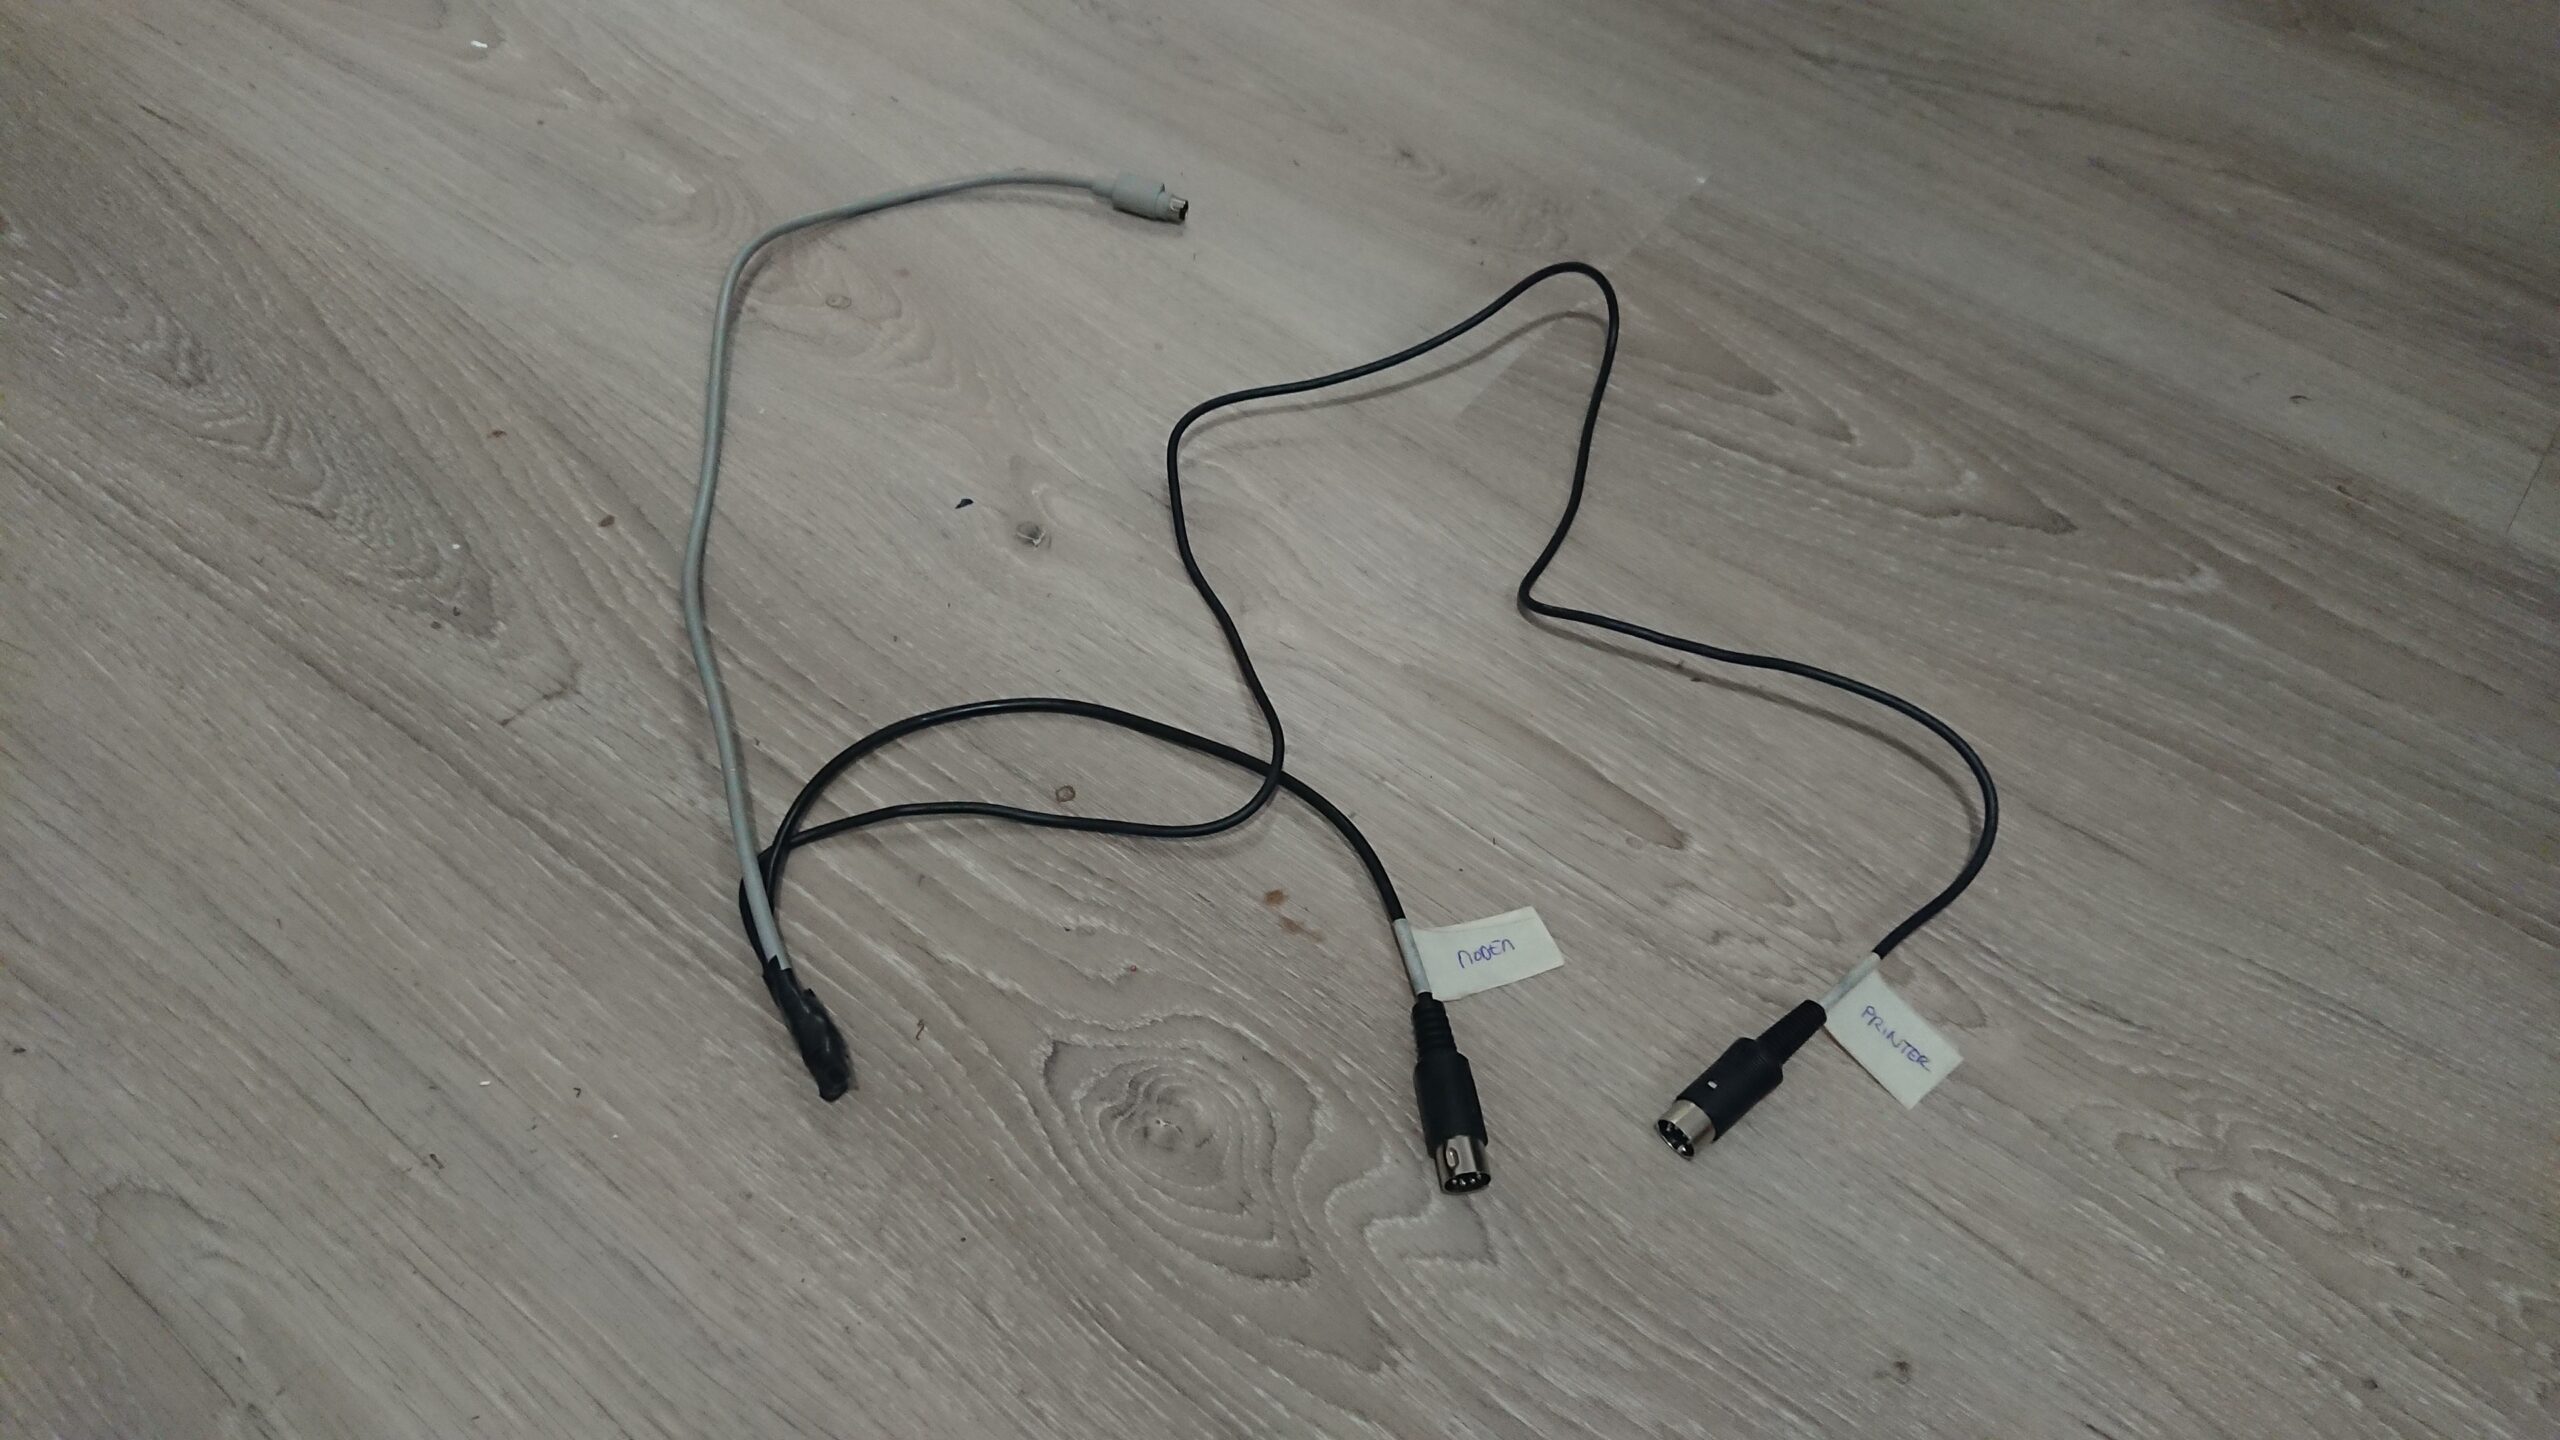
It is also simple to clear DTR on the Apple II’s ACIA 6551 serial chip, just a matter of setting one bit in the ACIA_CMD register… But this shutdowns the chip, preventing communication. And after all, it’s quite logical: once you signal to the other end that Data Terminal Ready is false, why be ready? We could also simply clear RTS, which pulls the physical DTR line down, but the camera pulls CTS down anyway, which disables the ACIA’s transmitter. So… The only way I found around that is to make myself a franken-cable, connecting to the Quicktake on one end, and on both of the Apple IIc’s serial ports on the other end. I use the modem port for data transmission, with ground/TX/RX wired, and the printer port to control RTS/DTR, with only DTR wired.
On this part, I must thank my wife a lot for her patience, as she helped me document each pin and wire, holding one the multimeter’s probe on one end of the cable while I did the other – continuity testing the Mini-DIN8 with only two hands is very difficult as the pins are real close to each other and the probe slips a lot.
Helping with this stupid project
If one was to make a IIgs specific version of this, with a RAM extension card, it would be possible to handle DHGR, and dither these beautiful pictures to 16 colors! (This would require re-extending the qt100.c and qt150.c decoders, as I ripped out color handling out of them).
What people say about it
Special thanks
- Abi, my partner, for her patience and support <3
- Antoine Vignau, for the early Quicktake 150 tests
- Pierre Dandumont, for lending me a Quicktake 150 and 200!
- FozzTexx, for the IIe double Super Serial Card cable schematics
- Rich Geldreich, for the picojpeg JPEG decoder
- Dave Coffin, for dcraw’s QTKT and QTKN decoders
I came here from the JQuickTake project link. What a great project! I was just thinking of getting one of these cameras. I love these early digital cameras.
Your work is so cool! Keep it up mate!
i recon youd appreciate this
https://web.archive.org/web/20140726075715/http://schmenk.is-a-geek.com/wordpress/?p=4
https://web.archive.org/web/20170828202900/http://schmenk.is-a-geek.com/wordpress/?p=17
@l3arana: I do! thanks
Hi Colin,
Hope all is well. Really enjoying Glider and Shufflepuck Cafe for Apple ][. Really nice work. I was looking to credit you on FB because I made a 32mb hdd image with A2Desktop and other Mac like gui software for Apple ][ which included your two games.
Sorry to see you left FB as I enjoyed watching your posts on all your software. I will check here now.
Hi Jonathan! Thanks for the kind words. I left Facebook after the last US elections because I couldn’t morally justify participating in that shitshow, and indirectly funding it with my personal data. I’m sad to have left the cool community behind in that decision, but I still have ways to keep in touch with it via Mastodon, Reddit, the Slack and the Discords.
I’ll ping you when I release the real release so you can update it ! :-) The beta has known issues already.