[
back] (
français)
So I overclocked my Lombard and I'm getting nervous about the heat, although it isn't hotter than before,
let's make sure the laptop runs cool.
Apple's laptops have an integrated, "intelligent" fan which runs only when the computer overheats.
The fan is controlled by a TAU, Thermal Assistant Unit, which is integrated in the CPU if I understood
it well.
Many people report in newsgroups that they feel their fan doesn't run often enough, they have to be
watching a dvd or playing a video game for the fan to go. Still, they're burning their legs while
browsing the web, and the fan keeps still.
My Lombard's fan was ever worse, I
never heard nor feeled it run. Some people told me I
wasn't on my own, broken or miscalibrated TAUs seem to be fairly common, and I should get my laptop
back to Apple to have it fixed. No way - it isn't under warranty anymore, I don't want to spend at least
¤500 to have a stupid fan fixed, and I can't afford waiting for my computer one month or so - it's my
job's tool. I took the fan out of the laptop, tested it with a simple cell, and the fan wasn't broken.
Fixing the rest of the system myself :)
Here again, I can't be held responsible of anything if you try it and screw up.
- So, what's this fan ? A little fan getting 5 volts, with 3 wires: red, yellow and black.
- Black wire is the ground, as usual.
- Red wire gets +5V to make the motor move.
- Yellow wire is a varying resistor, resists a few megaohms when the fan is still, doesn't
resist when the fan turns. I guess that's used to stop feeding +5V to the fan if it's stuck.
- What provides me +5V in my laptop, near the fan, and without broken conditions such as
"temperature too high" ? The battery provides 12V, but the pcmcia slot provides the
required 5V, so let's go on feeding the fan with the it.
|
|
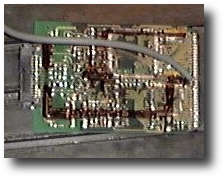
- First, you'll need a broken or useless pcmcia card. I used an old tokenring adaptor.
Rip it apart, but don't break the case nor the green card in it (how do you say "circuit
imprimé" in english ? ;-)), because you'll need them later.
Take your soldering iron, and remove all components on the card. Don't remove the
pcmcia connector.
- When it's done, you're ready to take +5V from the card connector.
According to pcmcia.org,
ground (GND) is available on pins 1, 34, 35 and 68; these are the upper and lower pins at the
extremities of the connector, so you have the choice. +5V is available on pins 17 and 51; these
are in the middle of the connector, up and down. When you look at the pcmcia connector from front
(that is, pinholes in front of you, card behind), pin 17 is the ... seventeenth counting
from left to right on the upper row.
Using the upper pins makes soldering simpler.
I first made a quickly-soldered test wire hanging out, using pins 17 and 34.
|

|
- After having verified the voltage (+5V) by inserting this awful thing in my computer and
booting it up (crossing fingers once again), saw this worked (yeah !)...
- So I wanted to clean this a bit. Facts are: I want a connector on the card that allows me
to easily unplug the fan if removing the card is ever needed; and I want a switch,
accessible at any time, to be able to cut the power to the fan when I need every bit of my
battery.
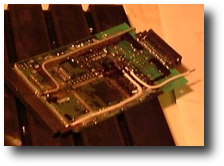
- I replaced the awful floating wire by nice, thin and rigid copper cables and pasted it to
the card using Araldite glue. I got a two-pins connector from a dead hard disk drive, pasted
it in the middle of the card (the connector to connect the fan to), and a micro switch from
a local electronics reseller.
|

|
- The fan had to be adapted, too, because its wires weren't long enough and its connector
was unadapted to our hard-disk like connector. The harder part of it was to get this stupid
connector to quit moving away from this stupid cable while trying to solder them together ;-)
I also cut the yellow wire used as a resistor, as it won't be of much use now.
|

|
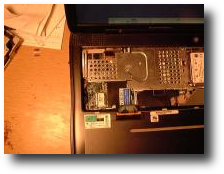
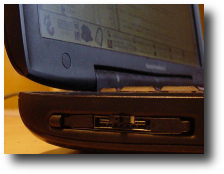
- At last, I remounted most of the card's case (not the top of it in order to be able to plug the
fan in, of course), inserted the card in the slot, plugged the fan in, and here it is !
A working, hand-controllable fan :)
|


|
Someone made another pcmcia fan hack, but
his version wouldn't fit in a Lombard's single slot.


